Classifying Documents
Once you've generated a Class (or several classes), you can begin to classify documents.
Running classification
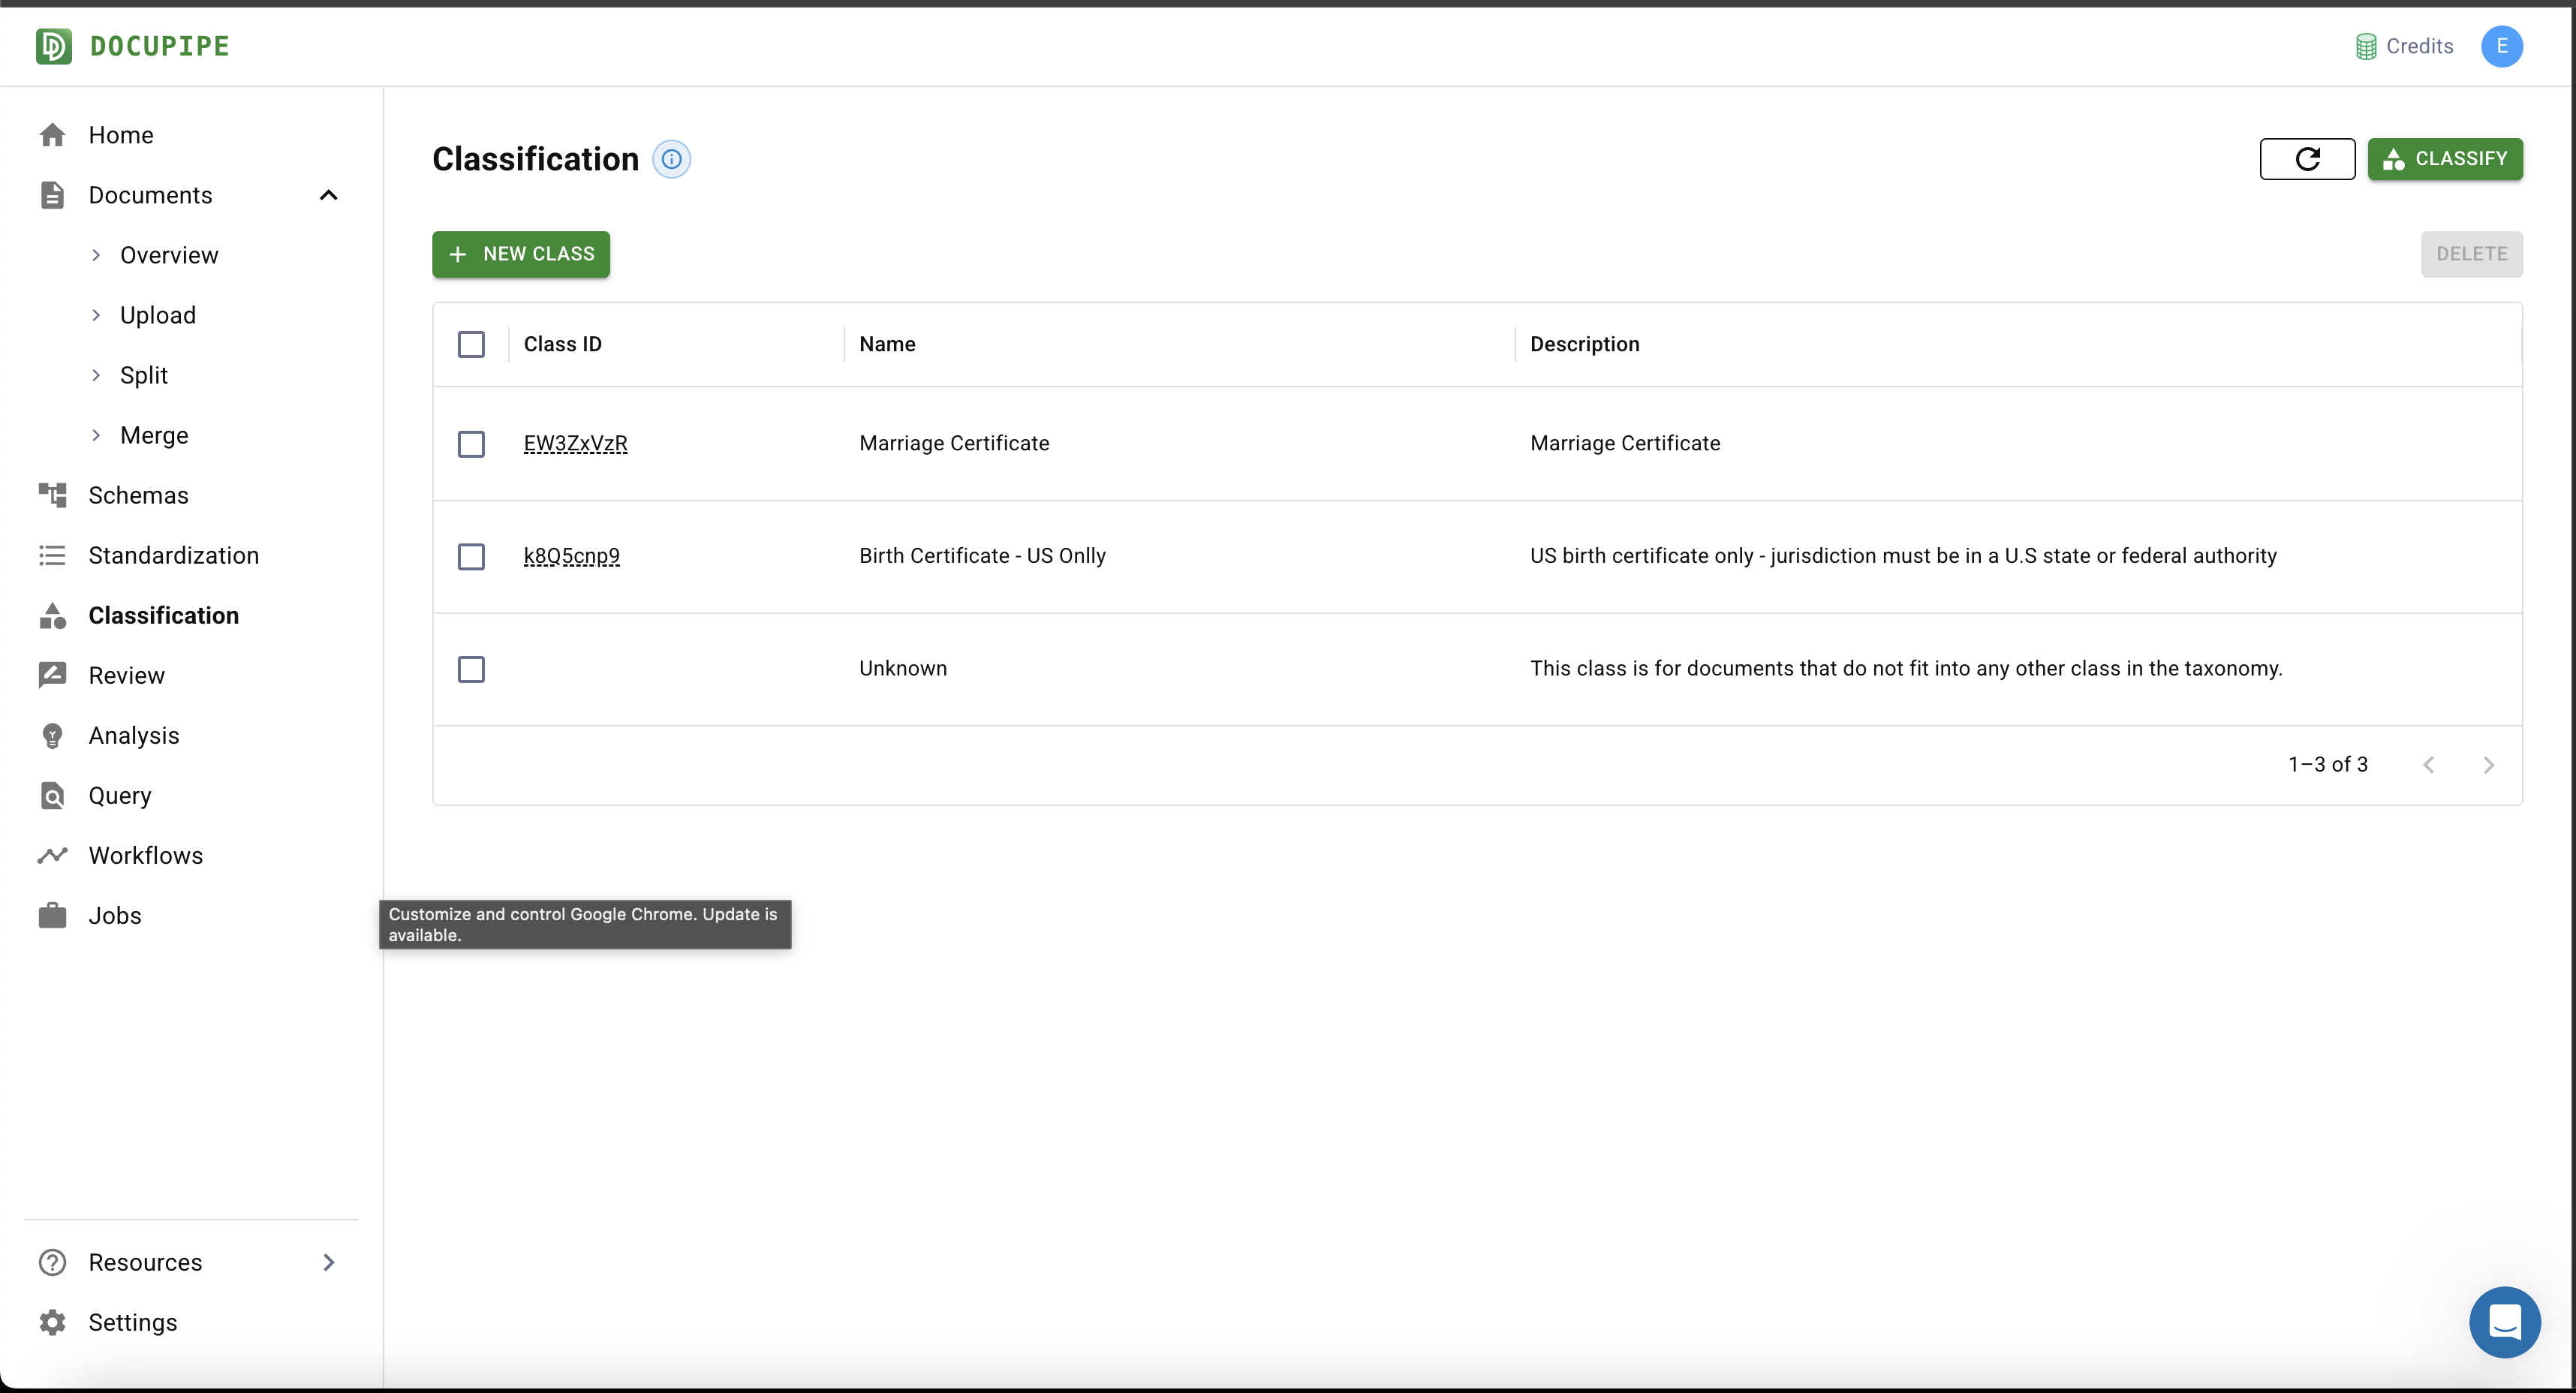
Go to your dashboard's Classification tab.
Click Classify in the top right.
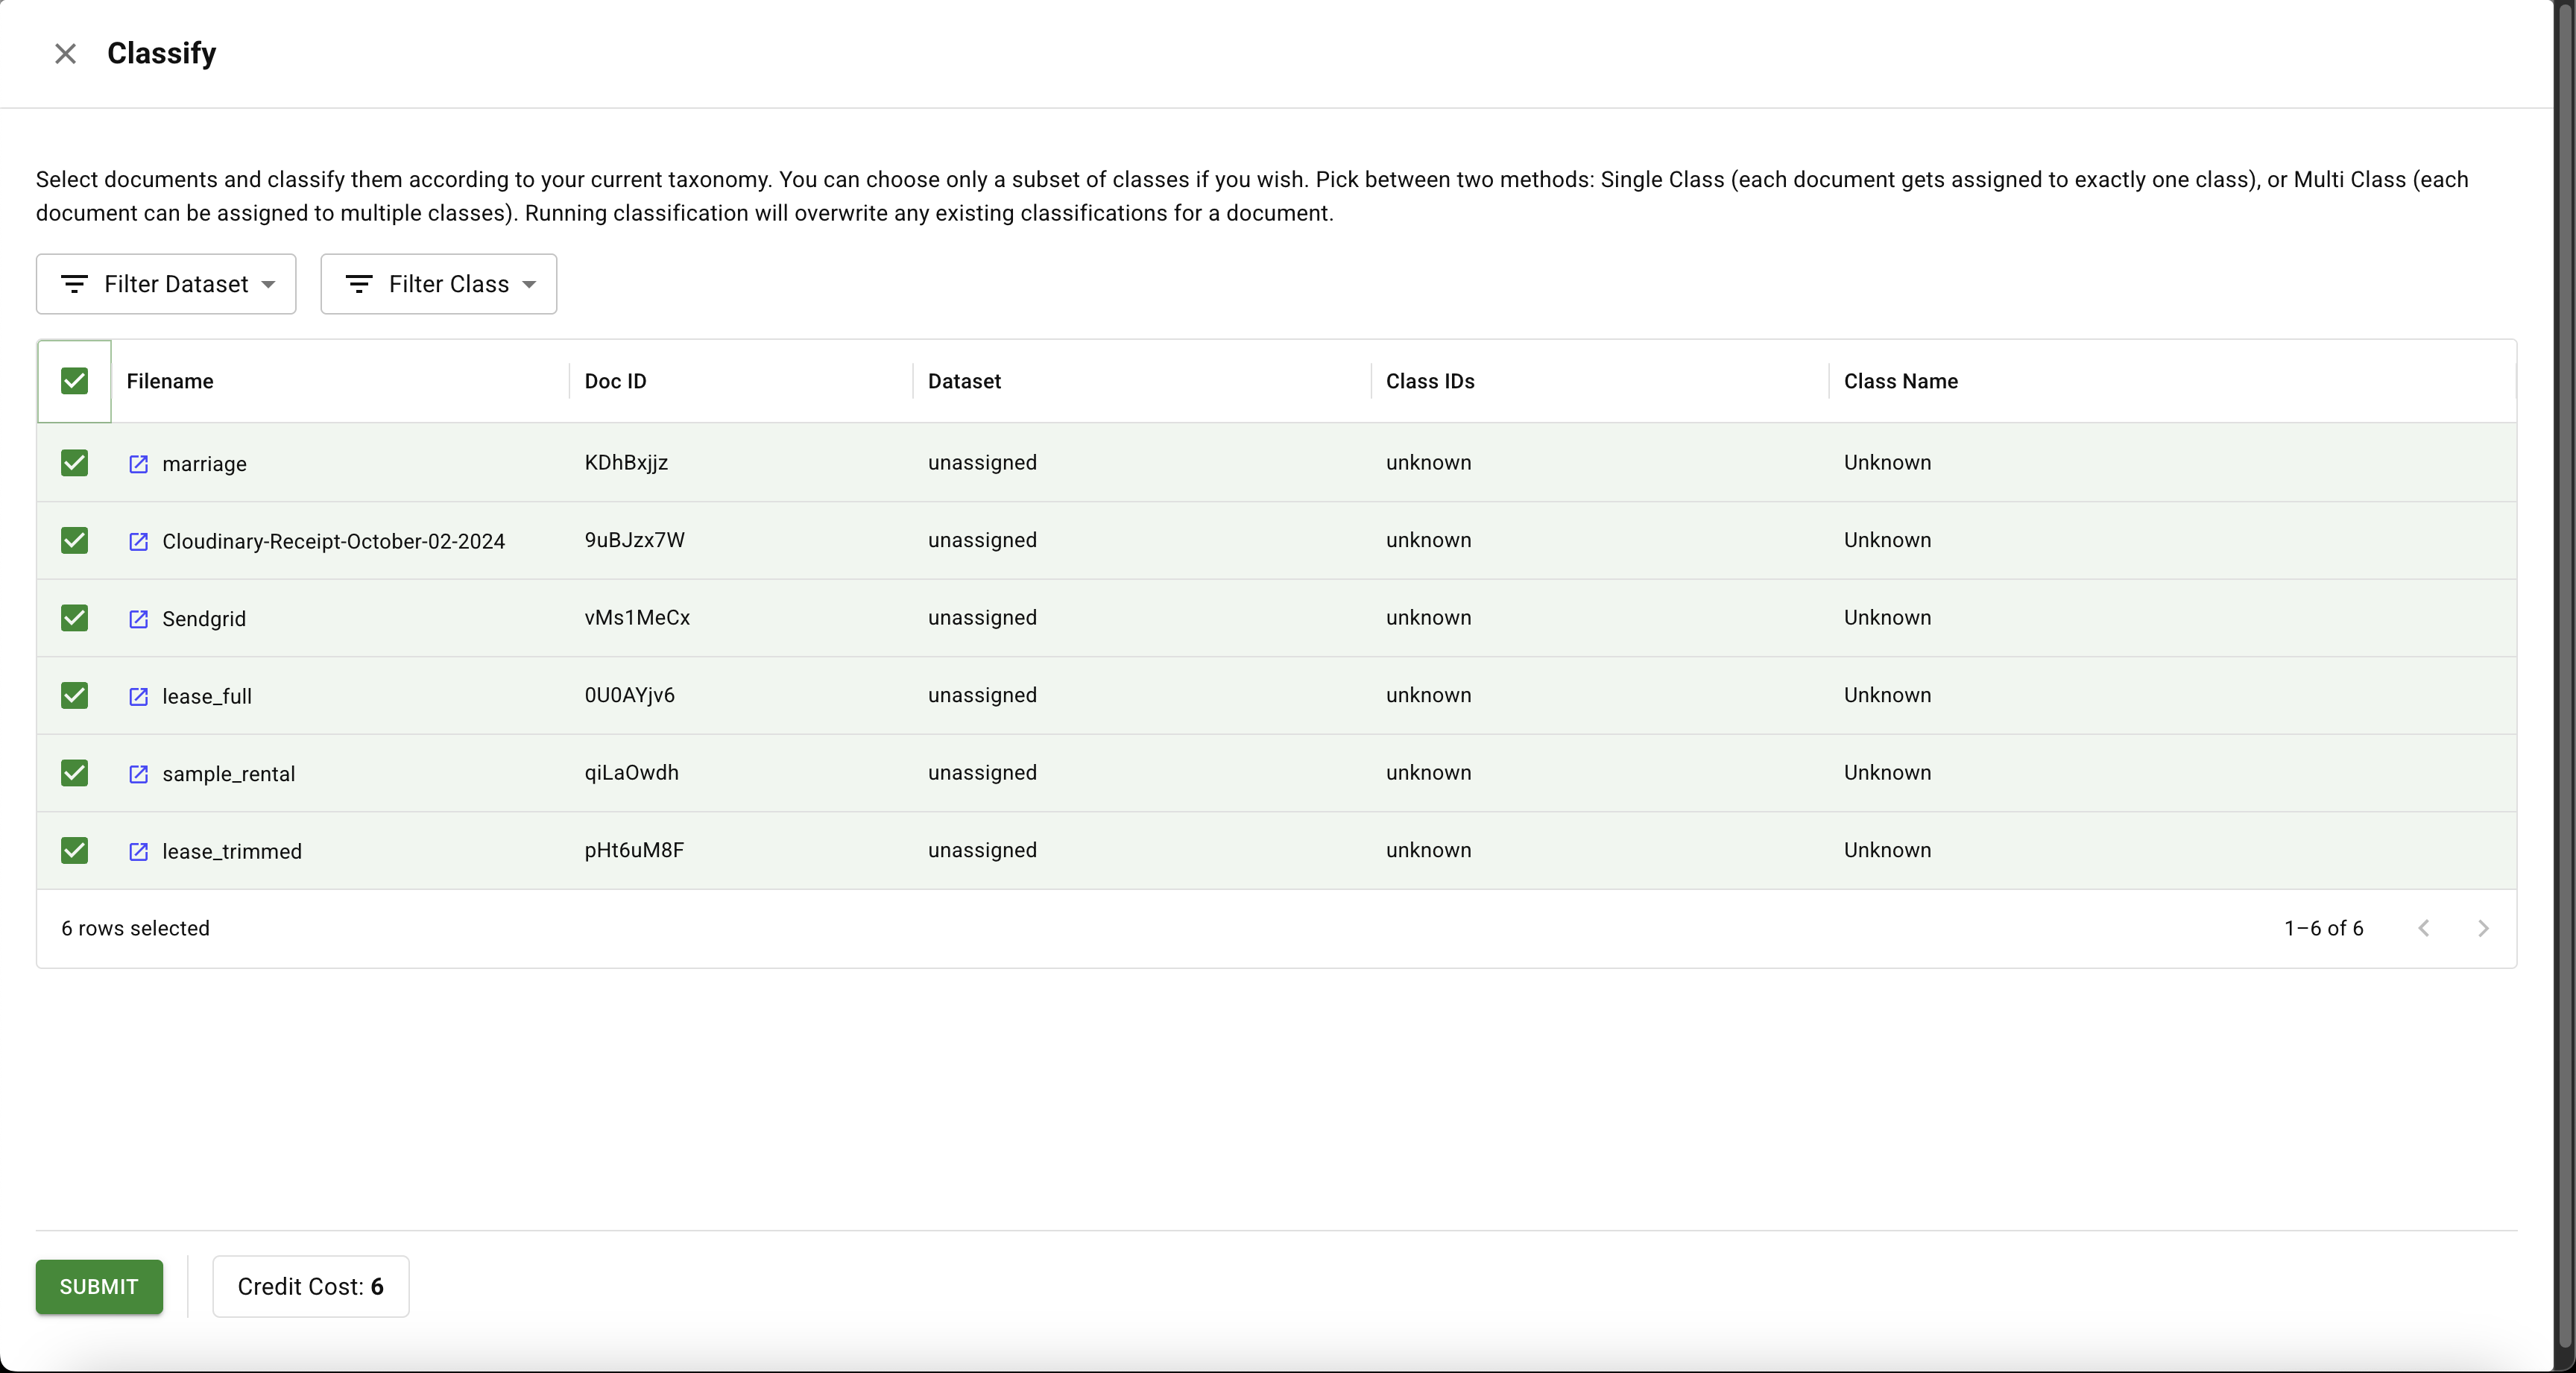
Select the documents you want to classify and click Submit. A dialog will prompt you for a few final directions.
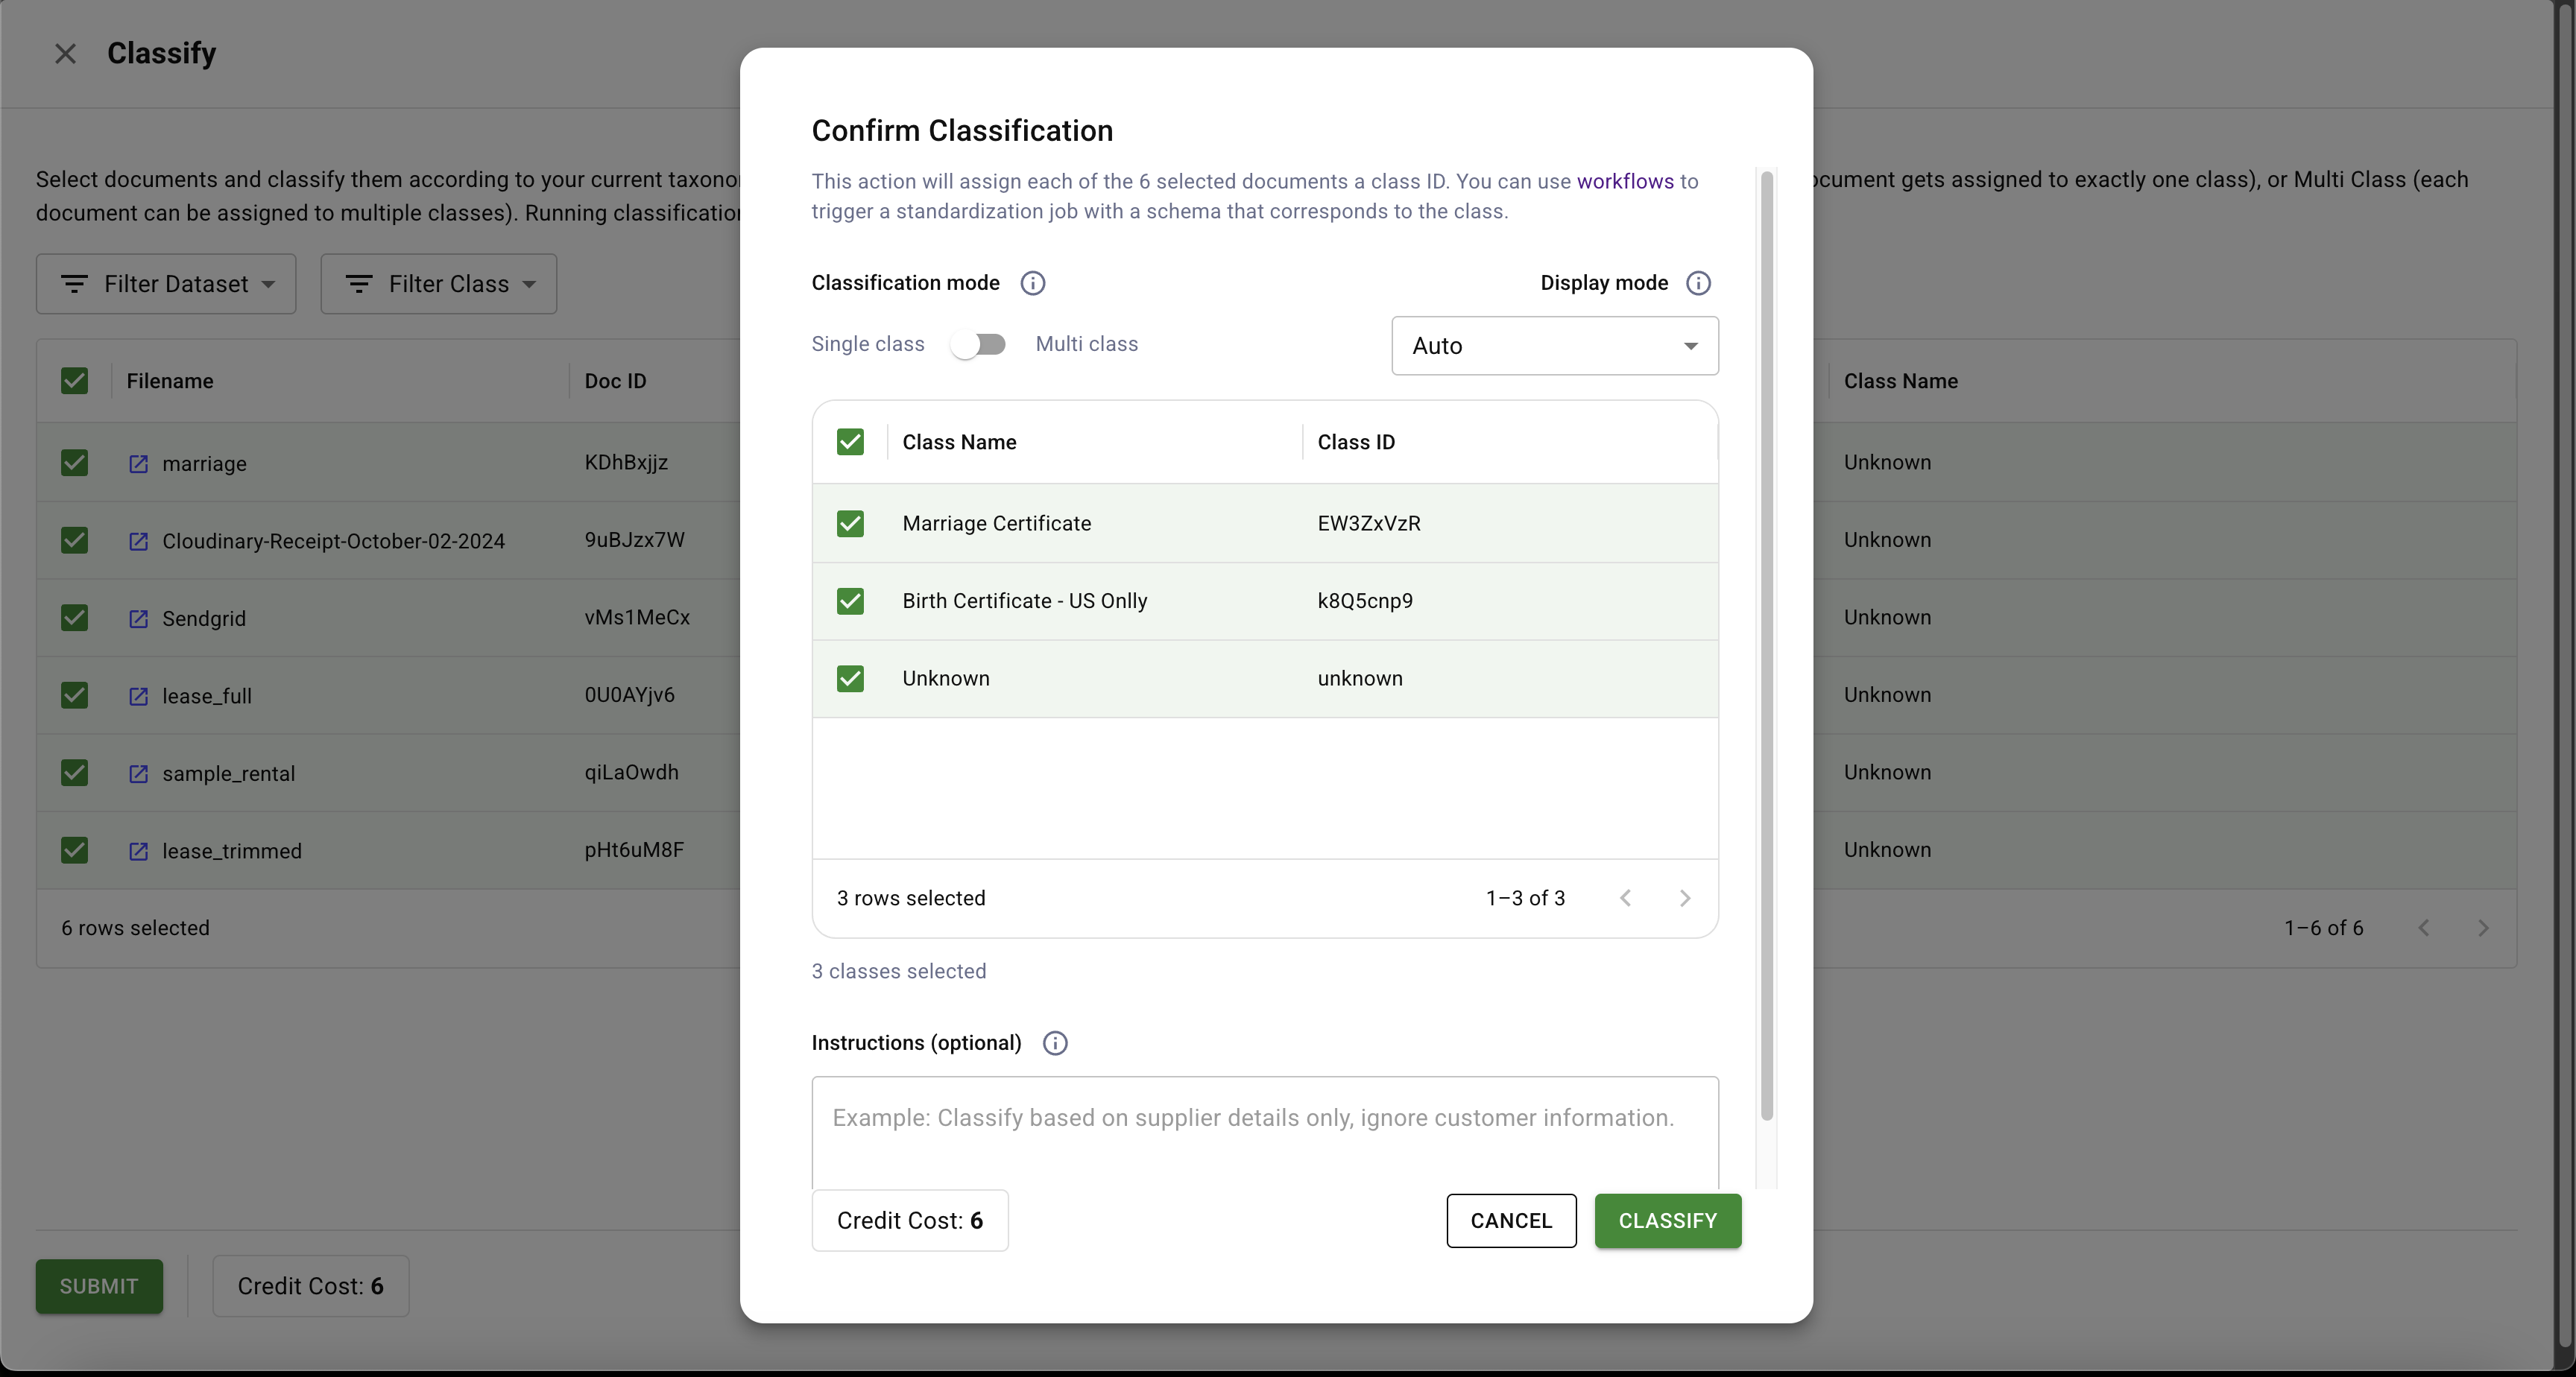
Configure the following options:
- Candidate classes: limit the AI to a specific subset (e.g., only "Marriage Certificate" or "Birth Certificate") so it must choose one of the relevant options instead of defaulting to
Unknown. - Multi-class classification: allow a document to belong to more than one class (e.g., "Marriage Certificate" and "US Document" or "Lab Report" and "Medical Record") when multiple viewpoints are helpful.
- Guidelines: include clarifications or business rules that help the AI resolve ambiguous cases.
Examining the Results
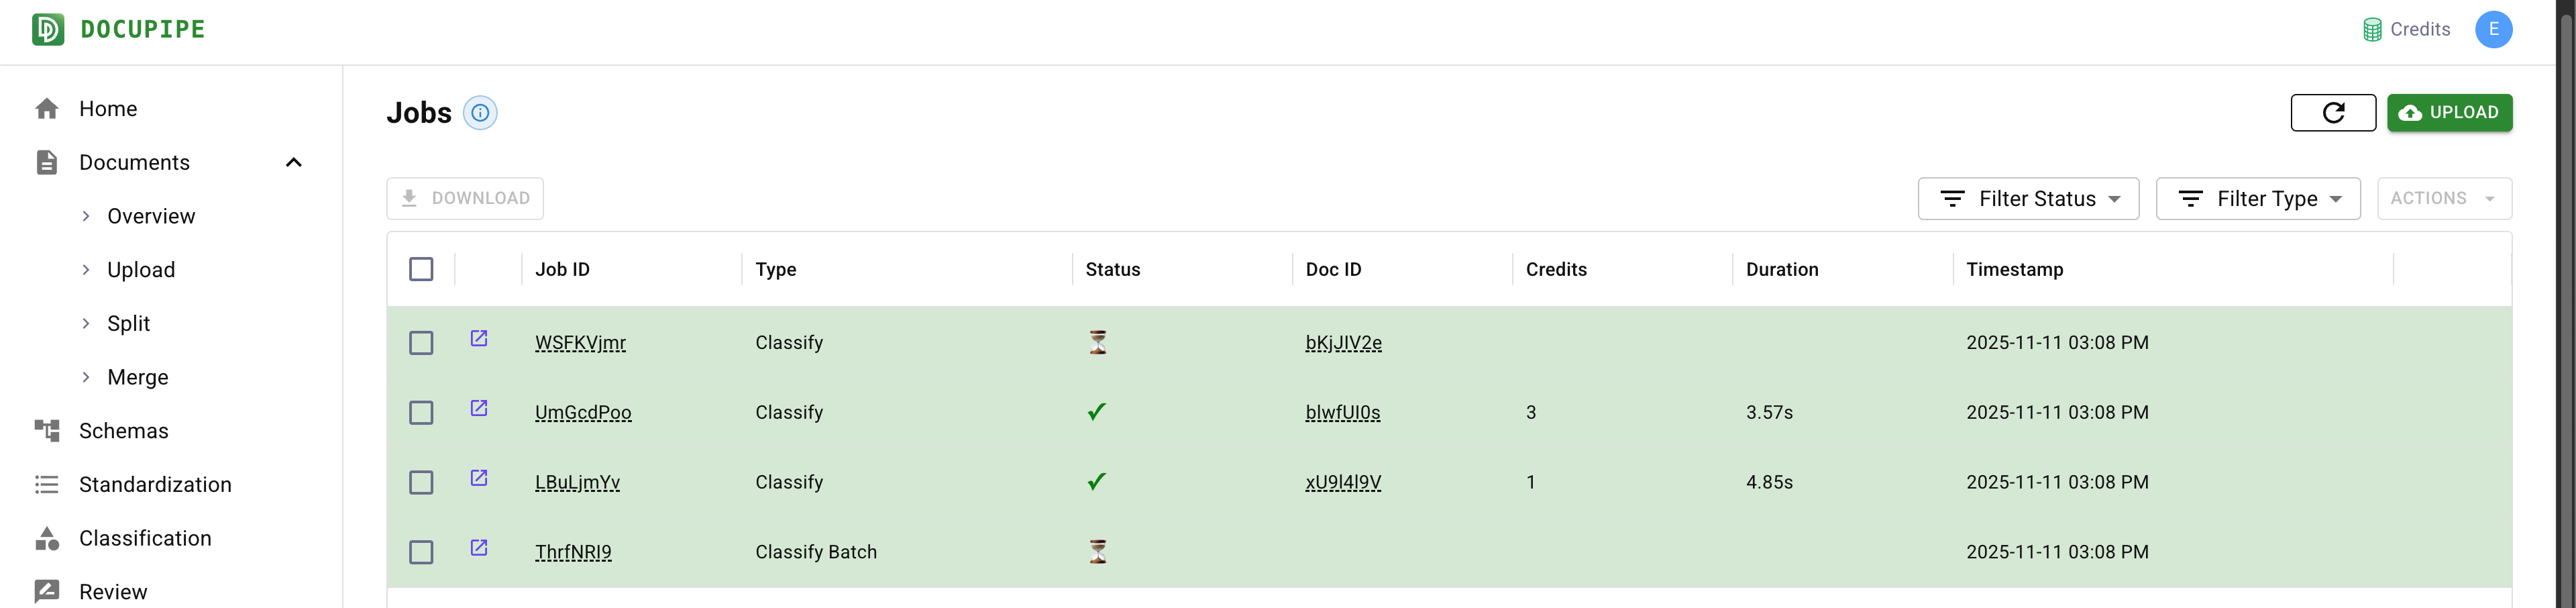
You can look at the Jobs Tab to see that your classification jobs are running.
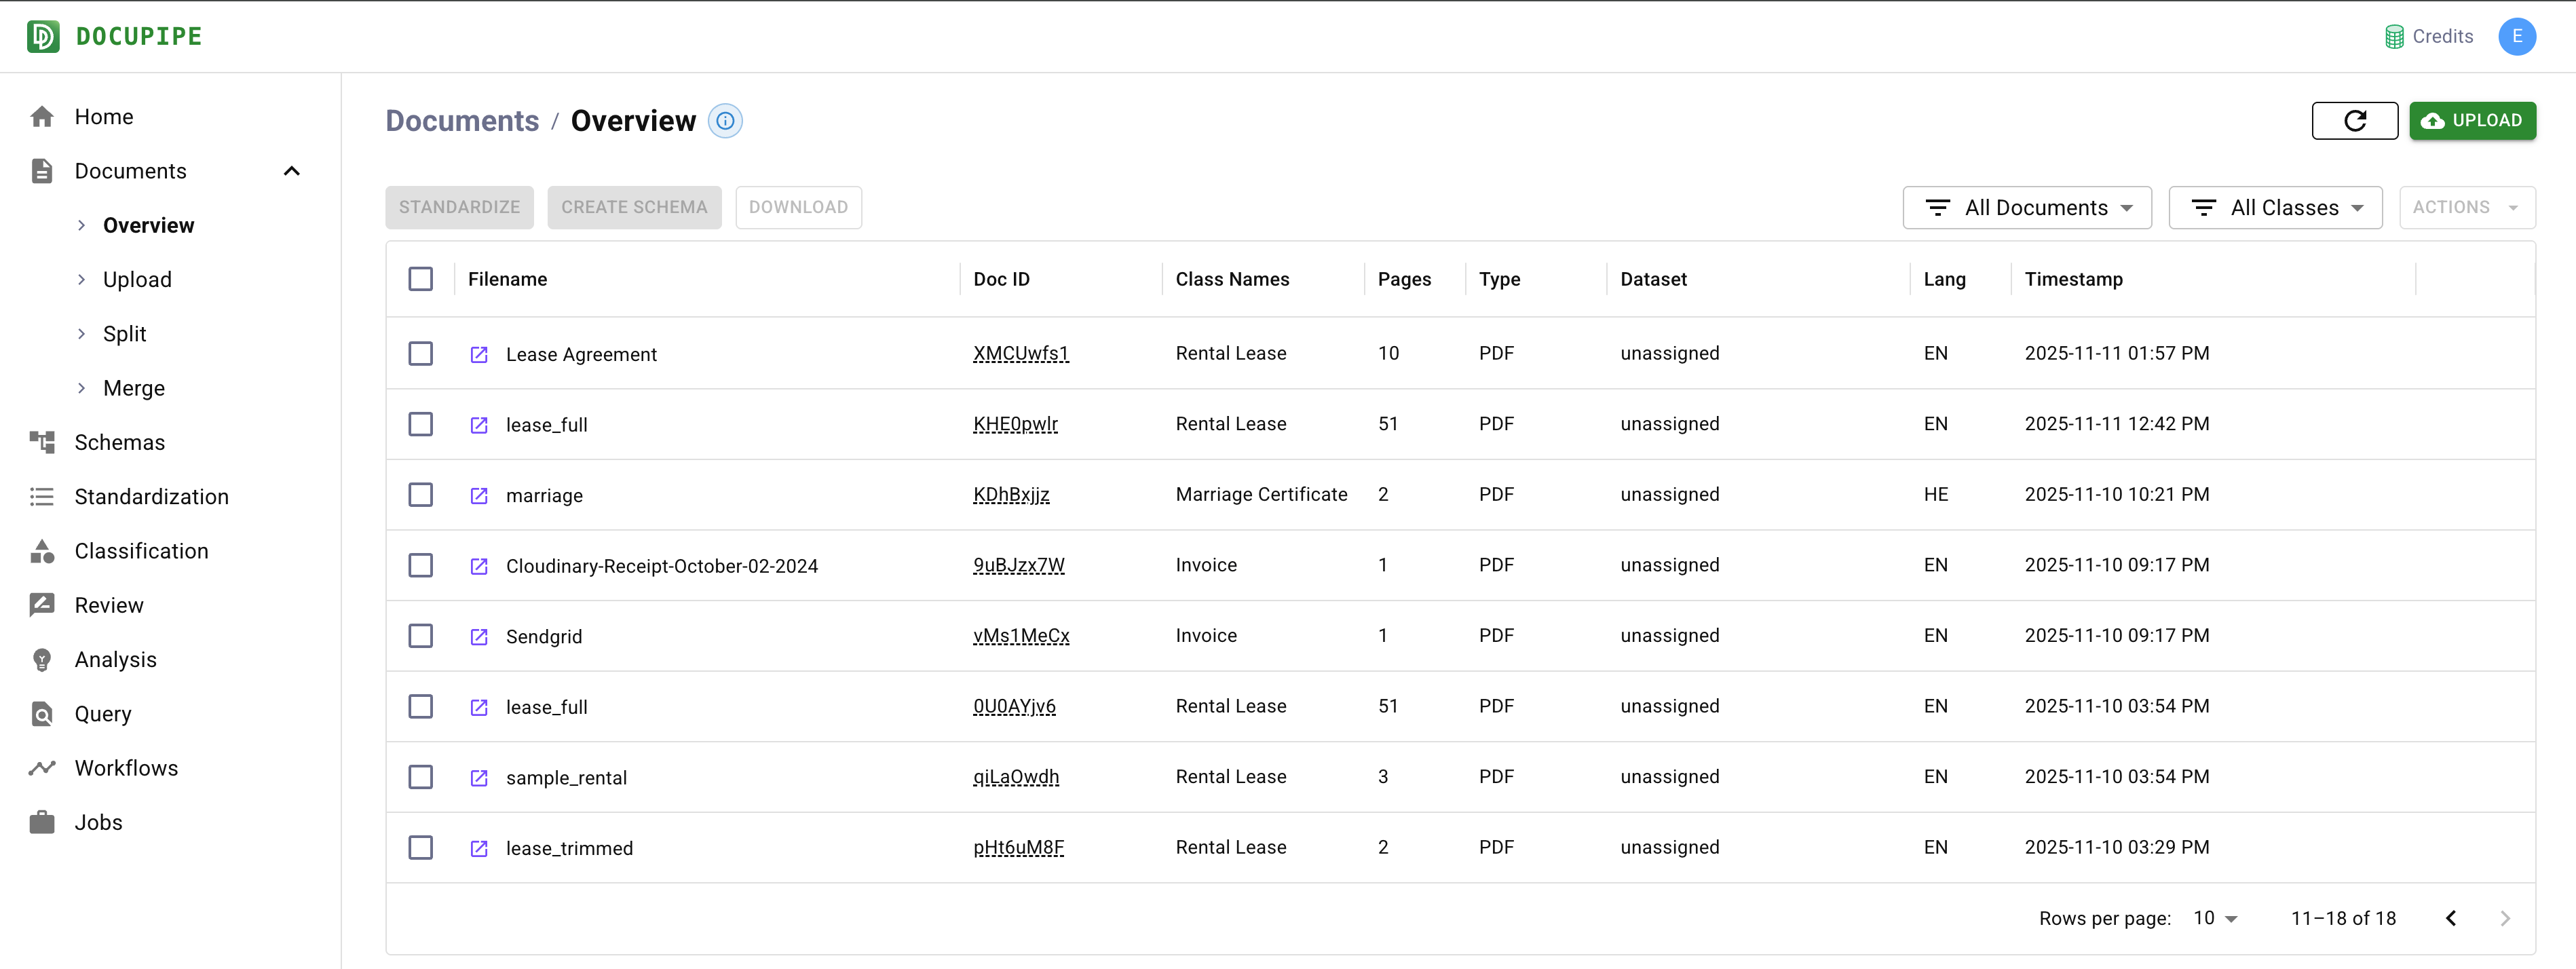
Once done, you can go to the Documents Tab And see that every document now has an entry under "Class Names". Notice that on the top right you can filter documents by class, to e.g. only Marriage Certificates.