Workflow: Classify & Route -> Extract
Automate upload, classification, and routing to the right schema without writing code.
DocuPipe workflows let you string together common automation steps. For example, you might upload a document, classify it into one of a few predefined types, and then standardize it with the schema that matches the chosen class.
Workflows minimize the amount of code you need to write while still orchestrating a reliable end-to-end process.
This guide mirrors the API Workflow Example but focuses on point-and-click setup. Once your workflow is done, you can launch it either manually or with a single line of code.
Before You Begin
Make sure you have:
- At least one Schema that already yields a good extraction when the right document comes along. See Quick Start on how to create your first schema.
- At least one defined Classification, which you can generate by going to your Classification Dashboard
If classification or schema quality is still in flux, polish those first. Workflows simply glue the steps together - they won't fix upstream accuracy problems.
Create a Workflow
Go to your dashboard's Workflow view.
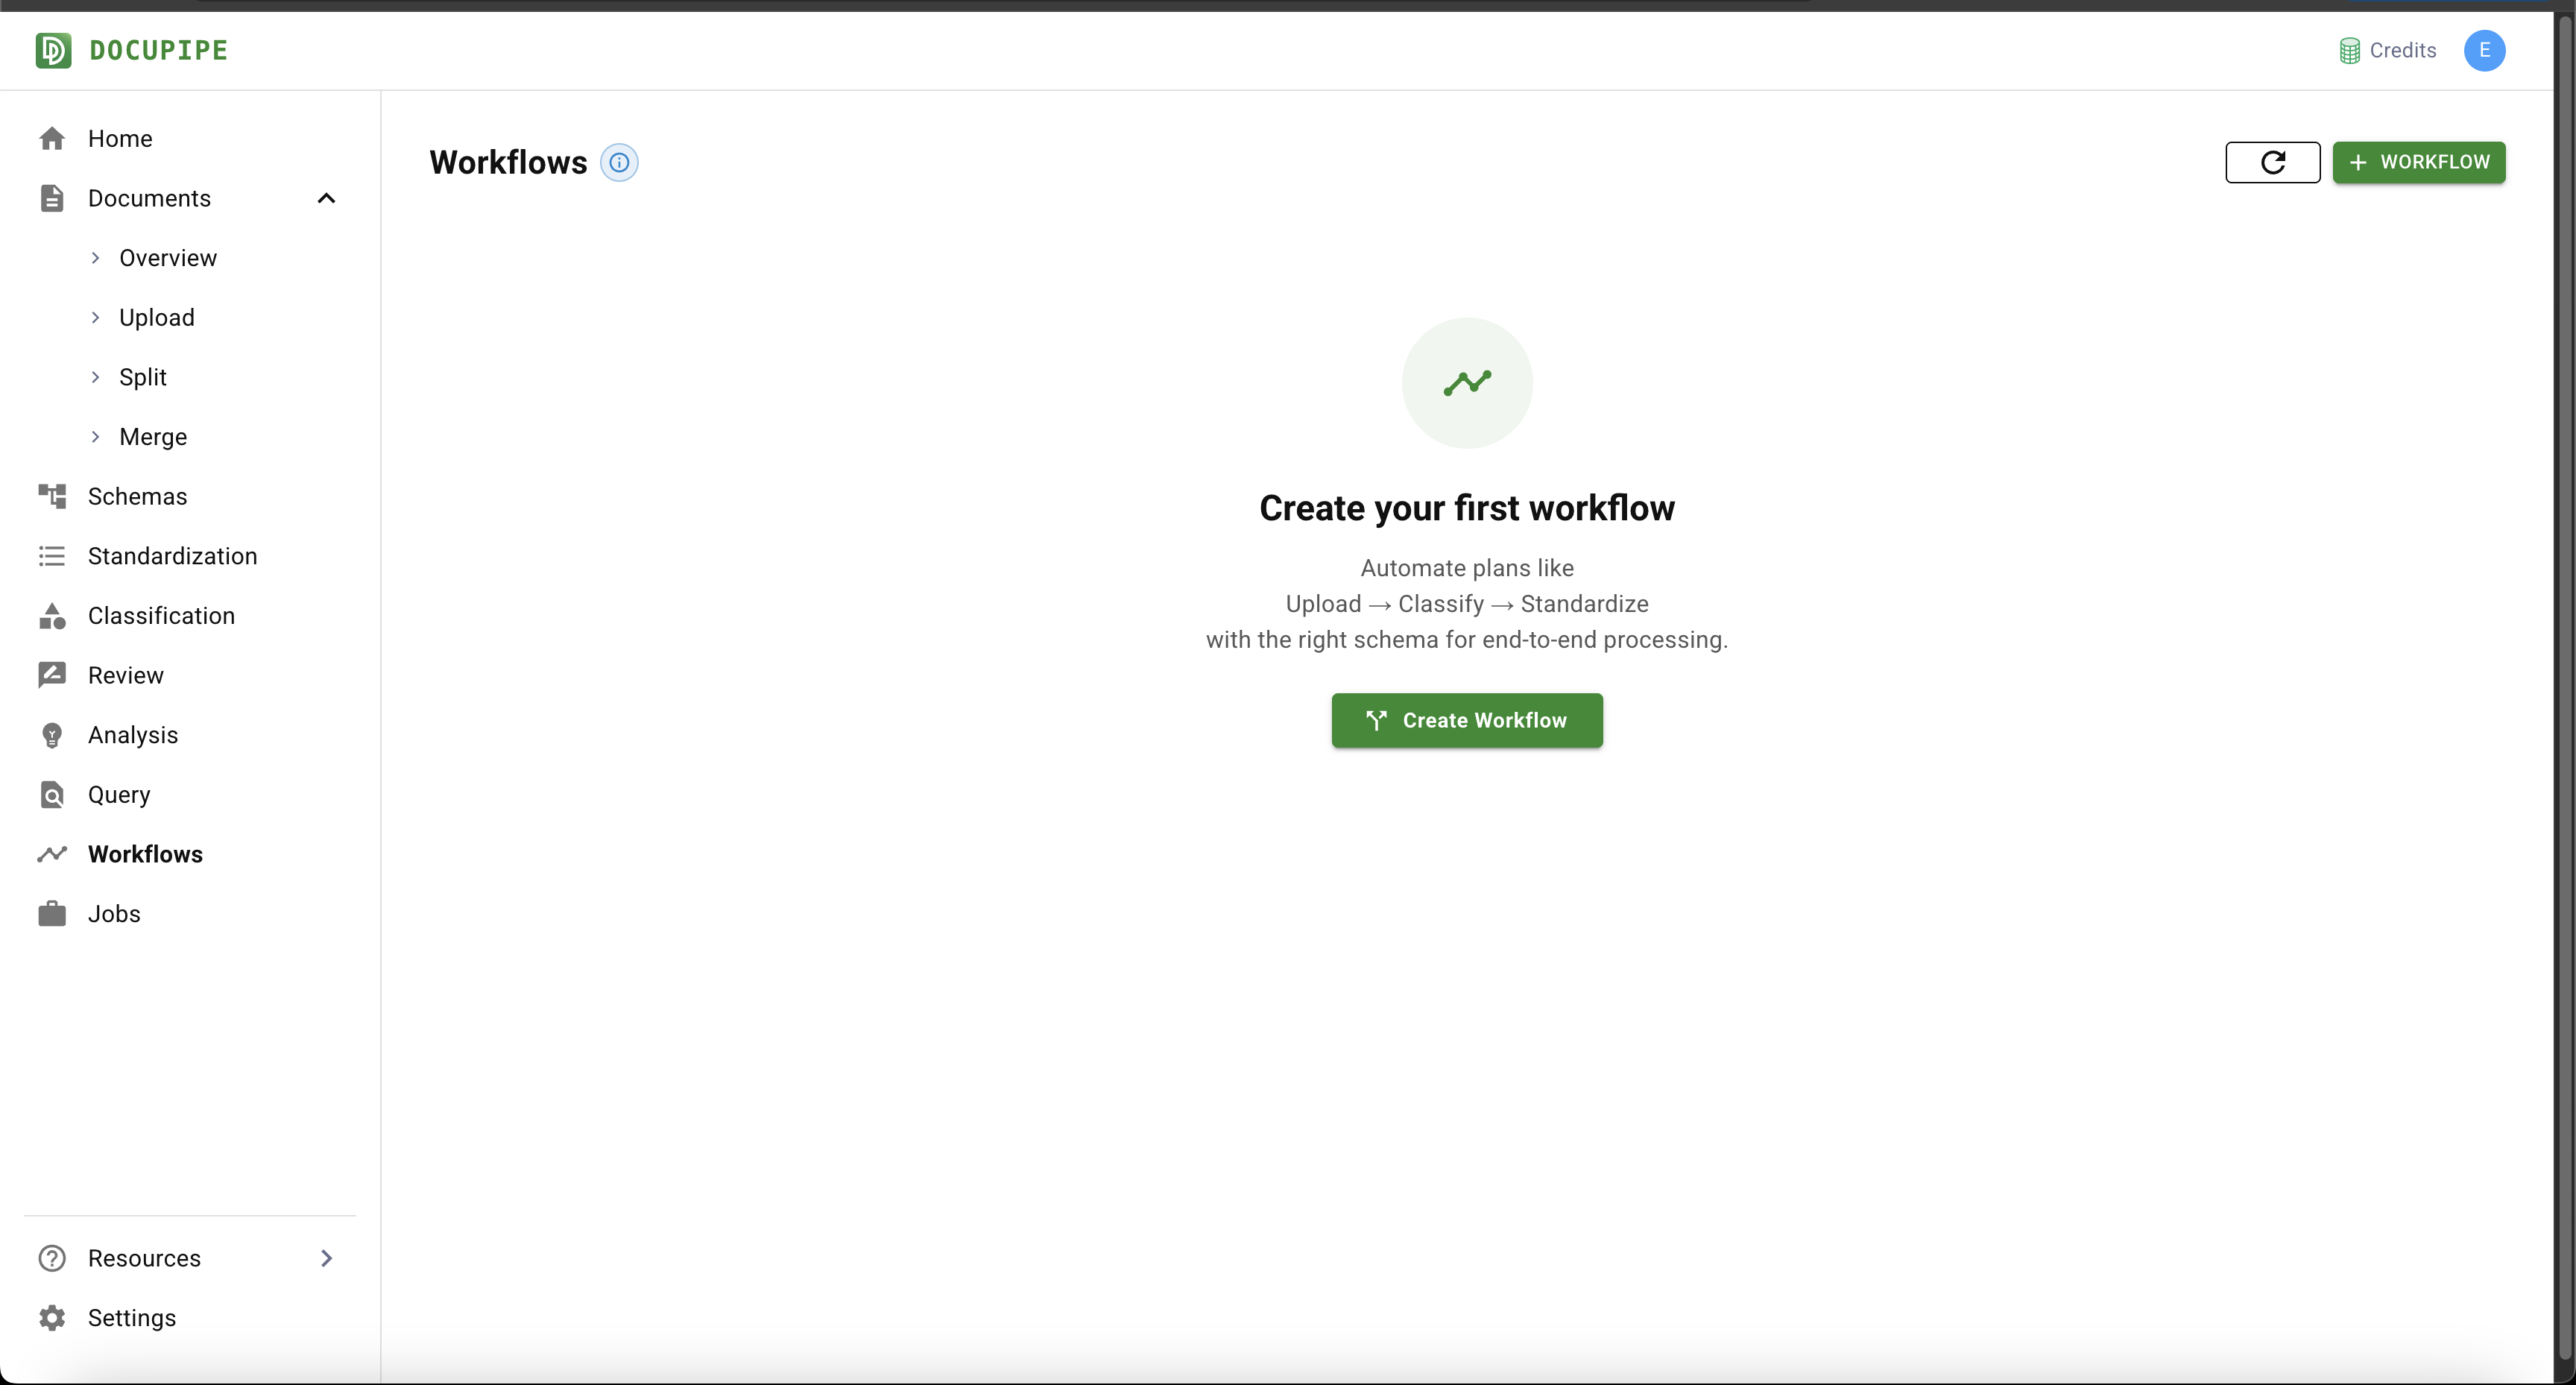
Click on the green + Workflow button on the top right.
There are multiple workflow types to explore. In this example we'll imagine we're ingesting documents that are sometimes invoices and sometimes rental leases. We define a mapping where the Invoice class goes to the Invoice schema we generated, and the Rental Lease class goes to "Rental Schema V2," which is a specific schema we've created.
While it's often the case that you want a one-to-one mapping between classes and schemas, that's not always required. Sometimes you classify between a residential lease and a commercial lease yet extract them with the same schema.
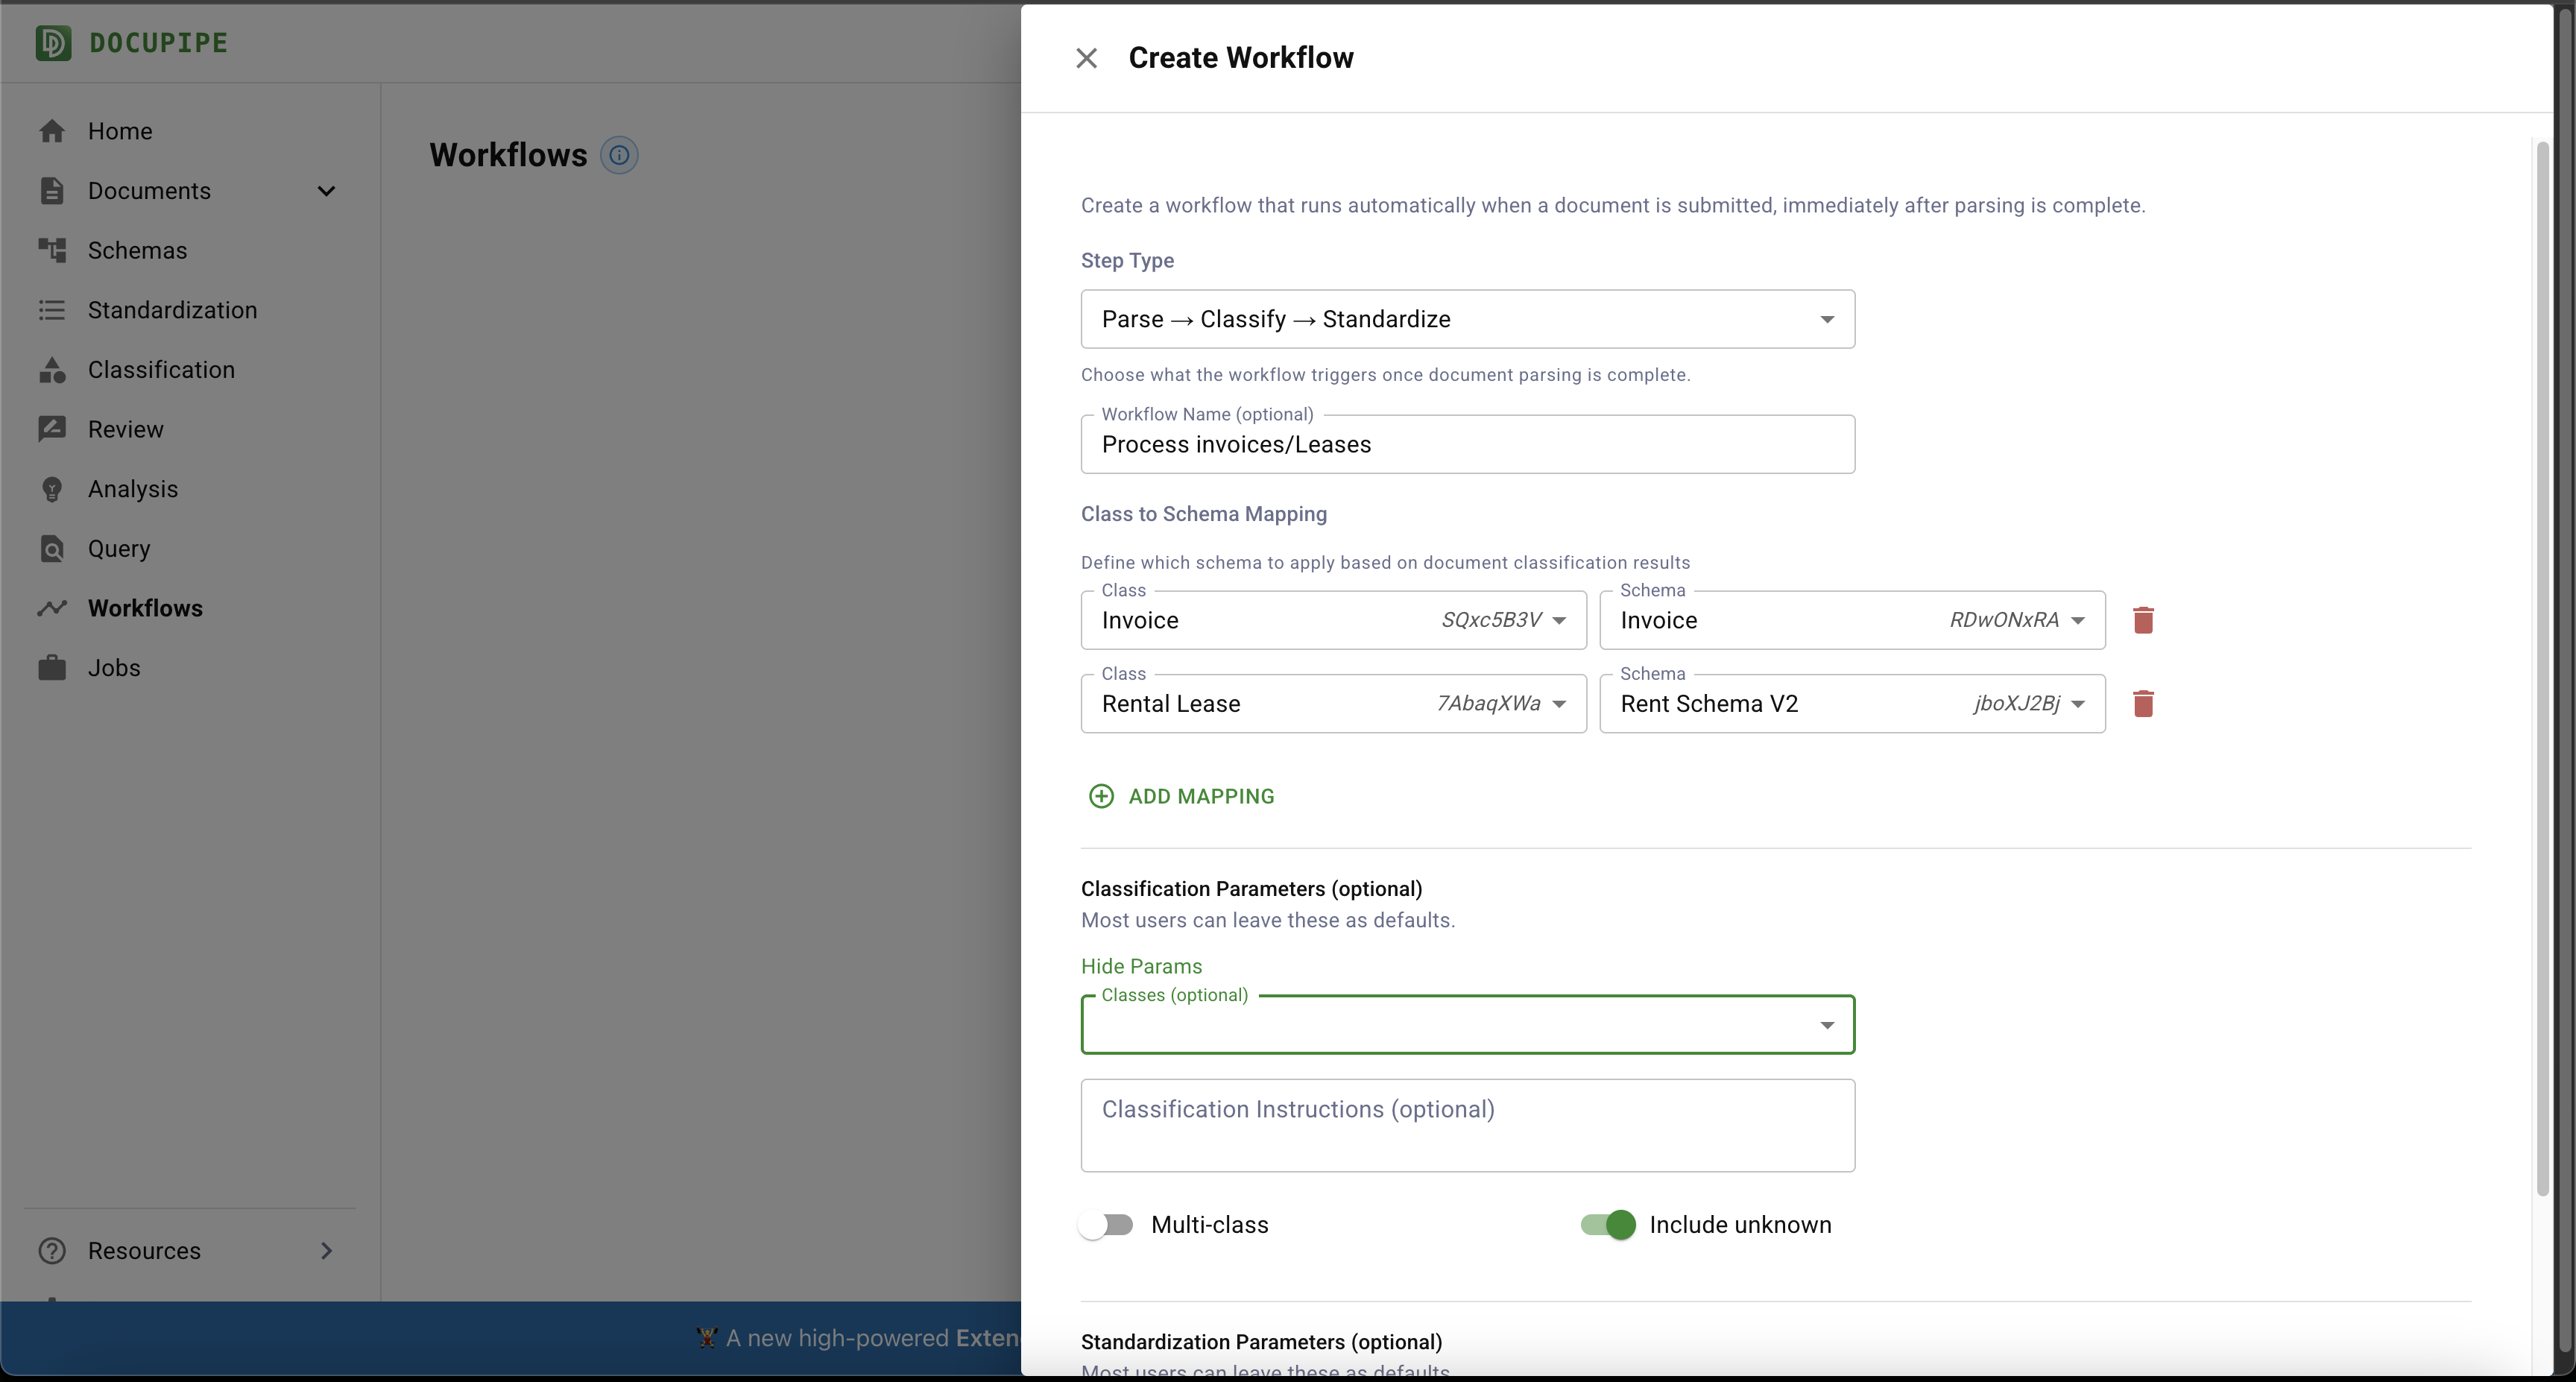
In this example we're not setting any advanced parameters. You can, however, scope a workflow to a particular scenario—for instance by limiting the candidate classes. If you know a document source can only map to two specific classes, present only those classes (or even forbid the Unknown class) so the AI is forced to pick the best option.
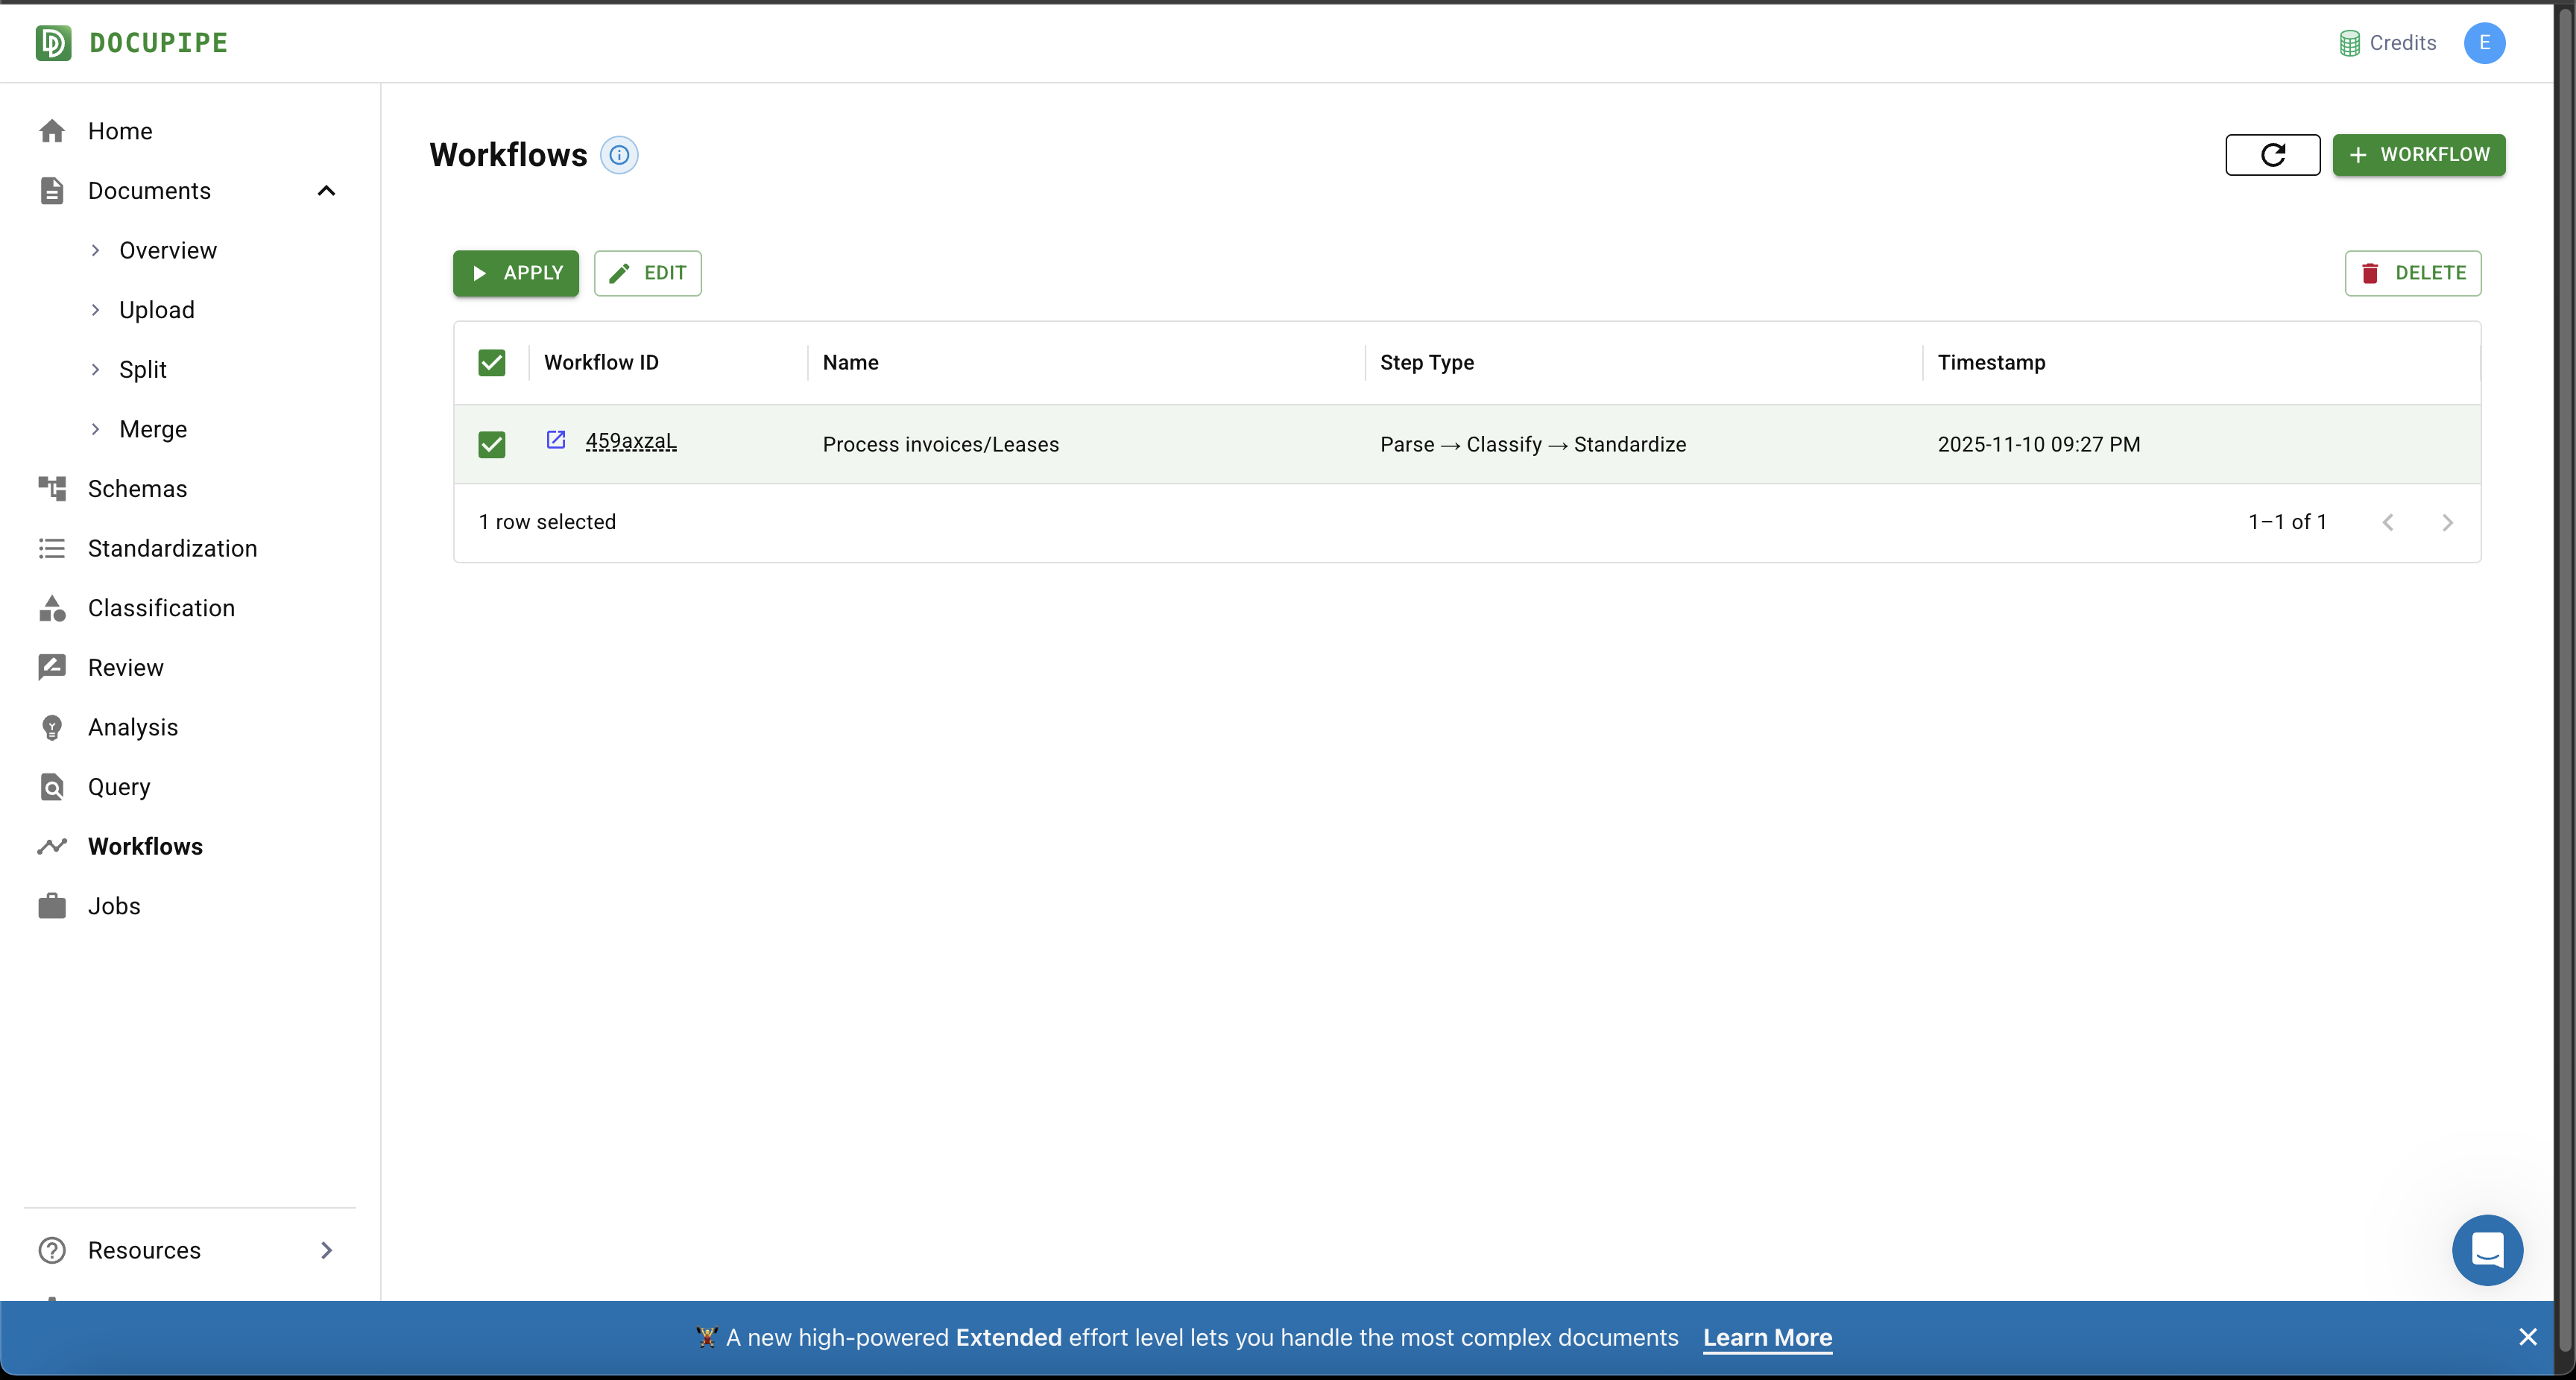
Running a Workflow
Select your workflow and click the green Apply button.
You can also run your workflow with code. See API Workflow Example on how to launch a workflow from the API.
Monitor Progress
- Track progress for each workflow run from the Jobs tab.
- You will see an Upload job, followed by a Classify job, and finally a Standardize job. When the workflow completes, a new entry appears in the Standardization tab.
- If you need downstream systems to react automatically, subscribe to the
standardization.processing.successwebhook event. Learn more in the Webhooks Guide. Hint: When you upload a document programmatically, it's often a good idea to setmetadata, for example{"metadata": {"uid": "your-input-document-uid"}. This way when your standardization event fires, you know what input document it relates to.
All Workflow Types
- Parsing -> Standardize: runs a schema on a document as soon as Parsing finishes. Use this when you already know which schema every document should use.
- Parsing -> Classify -> Standardize: the focus of this article; perfect when you must triage incoming documents and pick a schema dynamically (e.g., a production environment where users upload unpredictable content).
- Parsing -> Split -> Classify -> Standardize: best for long documents that concatenate many sub-documents (think medical referrals with lab reports, doctor notes, and discharge forms). Split first, then classify and standardize each section.