Workflow: Split -> Classify -> Extract
Overview
A common paradigm for document splitting is a process where you first split a document, get a bunch of sub-documents from it, and want to understand each sub-document with its own schema.
This guide assumes:
- You've already configured a Class for every sub-document you want to extract. You can read Configuring Classes to see how to define classes.
- You already have a Schema for each sub-document you're interested in standardizing. See Quick Start (5 minutes) on how to make a Schema.
Example - Rent Lease Extraction
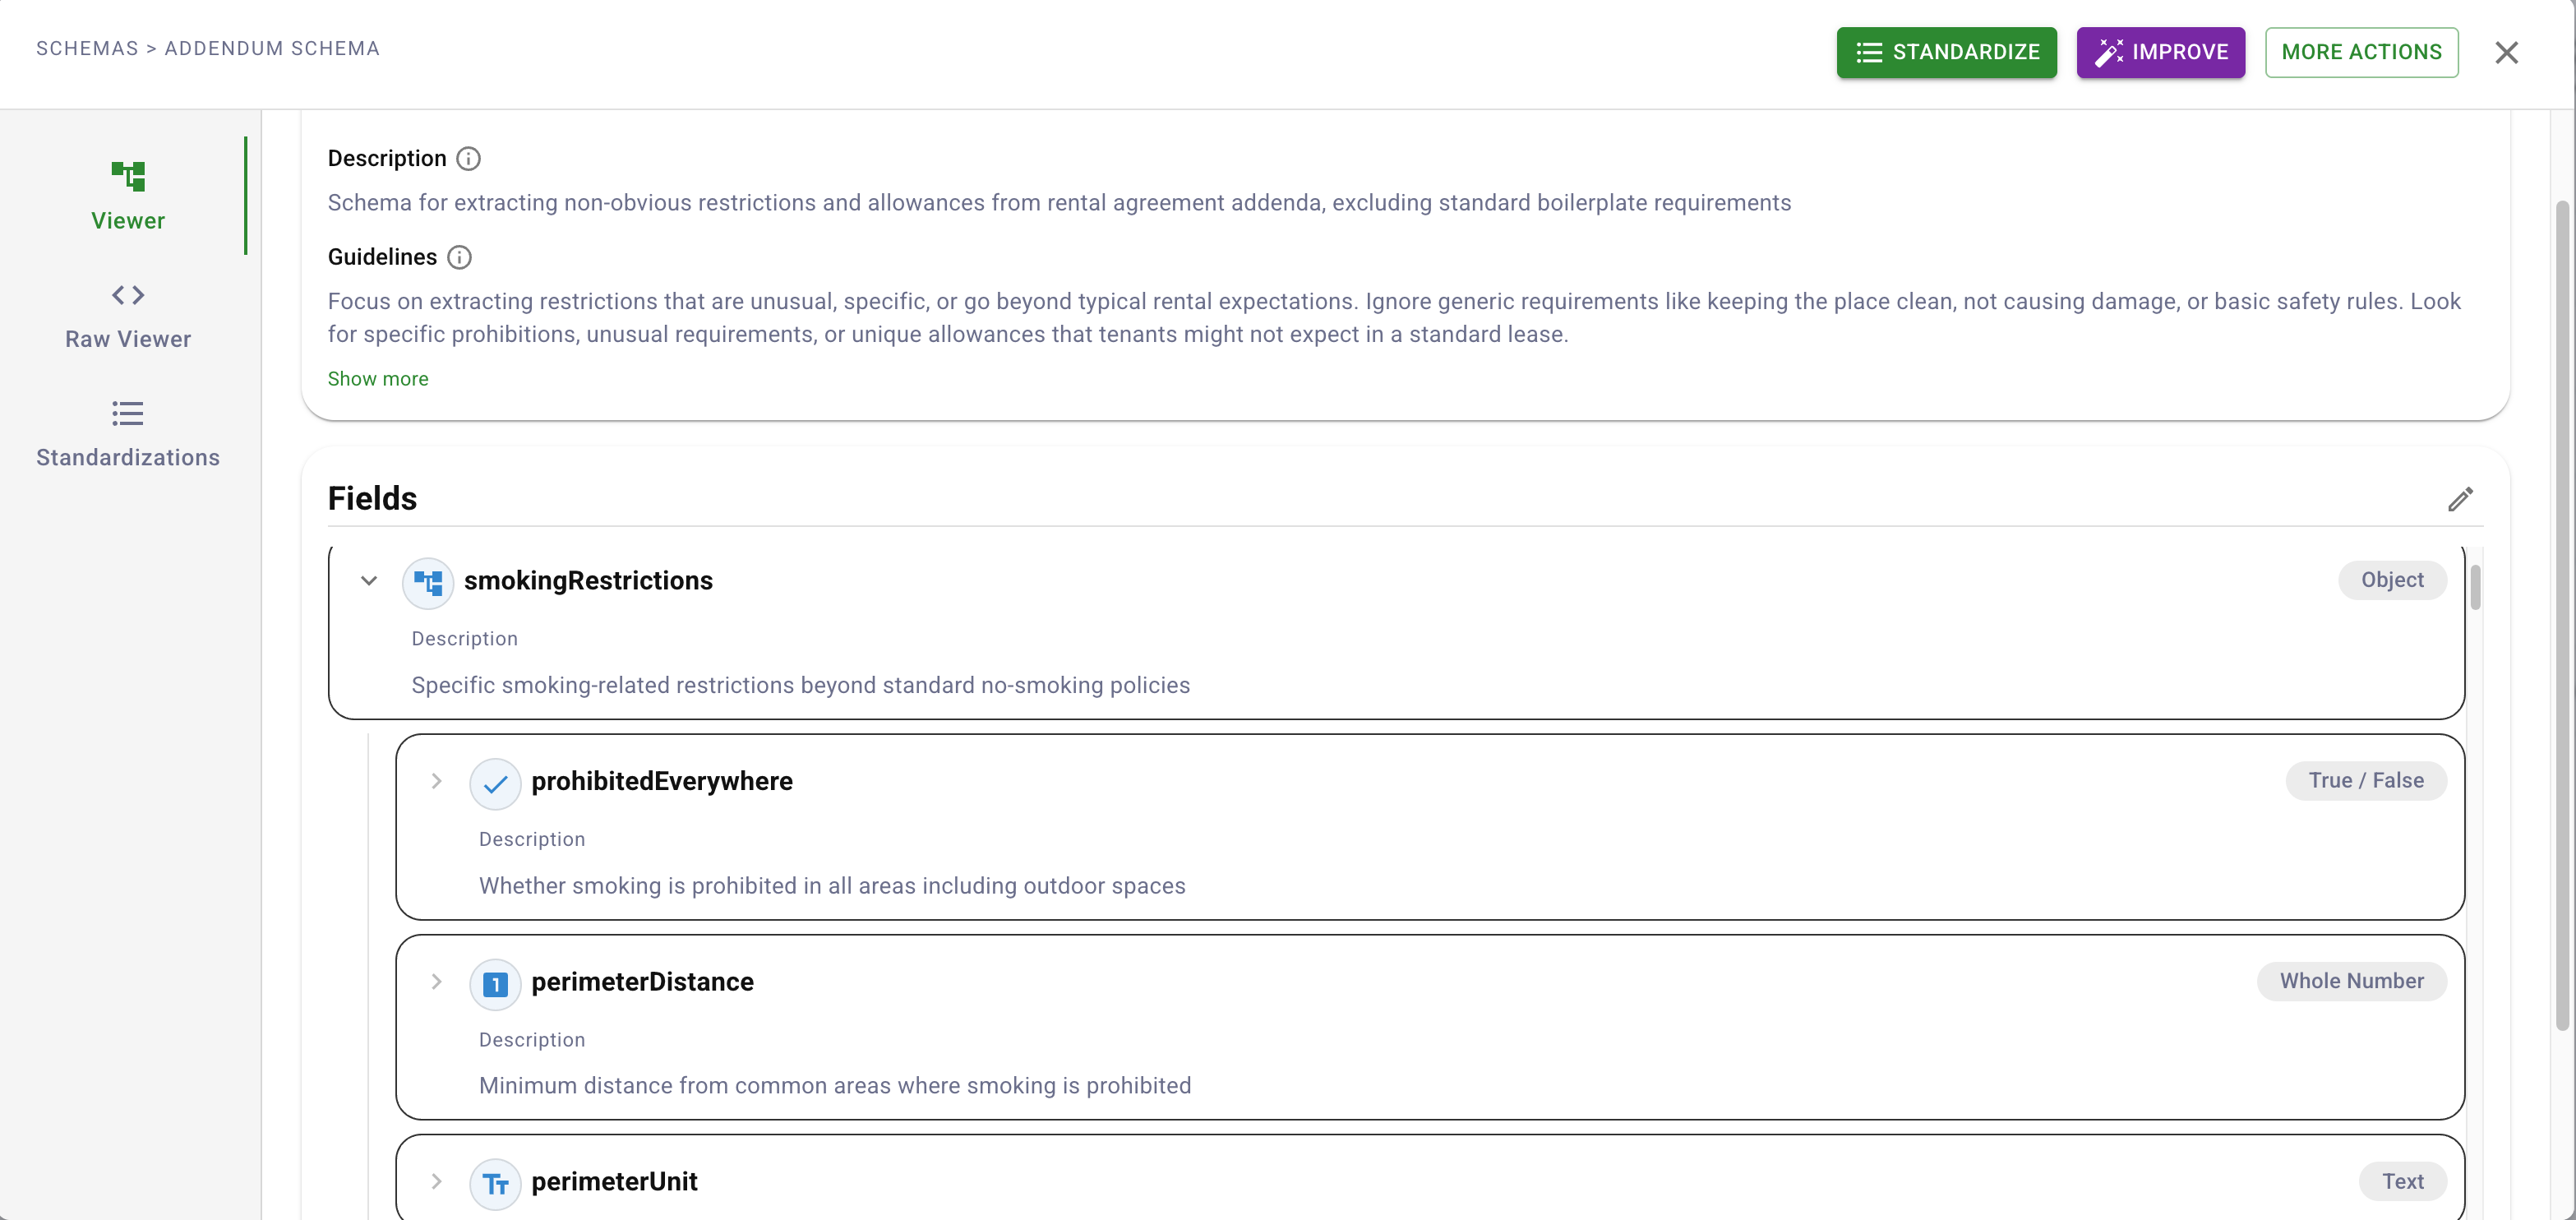
In the Previous Page we've broken up a lease into sub-components and found we can get lease terms separate from lease addendums. Browsing through the addendum, we see there's stuff in there like pet policies, and various restrictions on the apartment use. Let's quickly create a schema for it. We've gone ahead and made a schema for Addendums that looks like this:
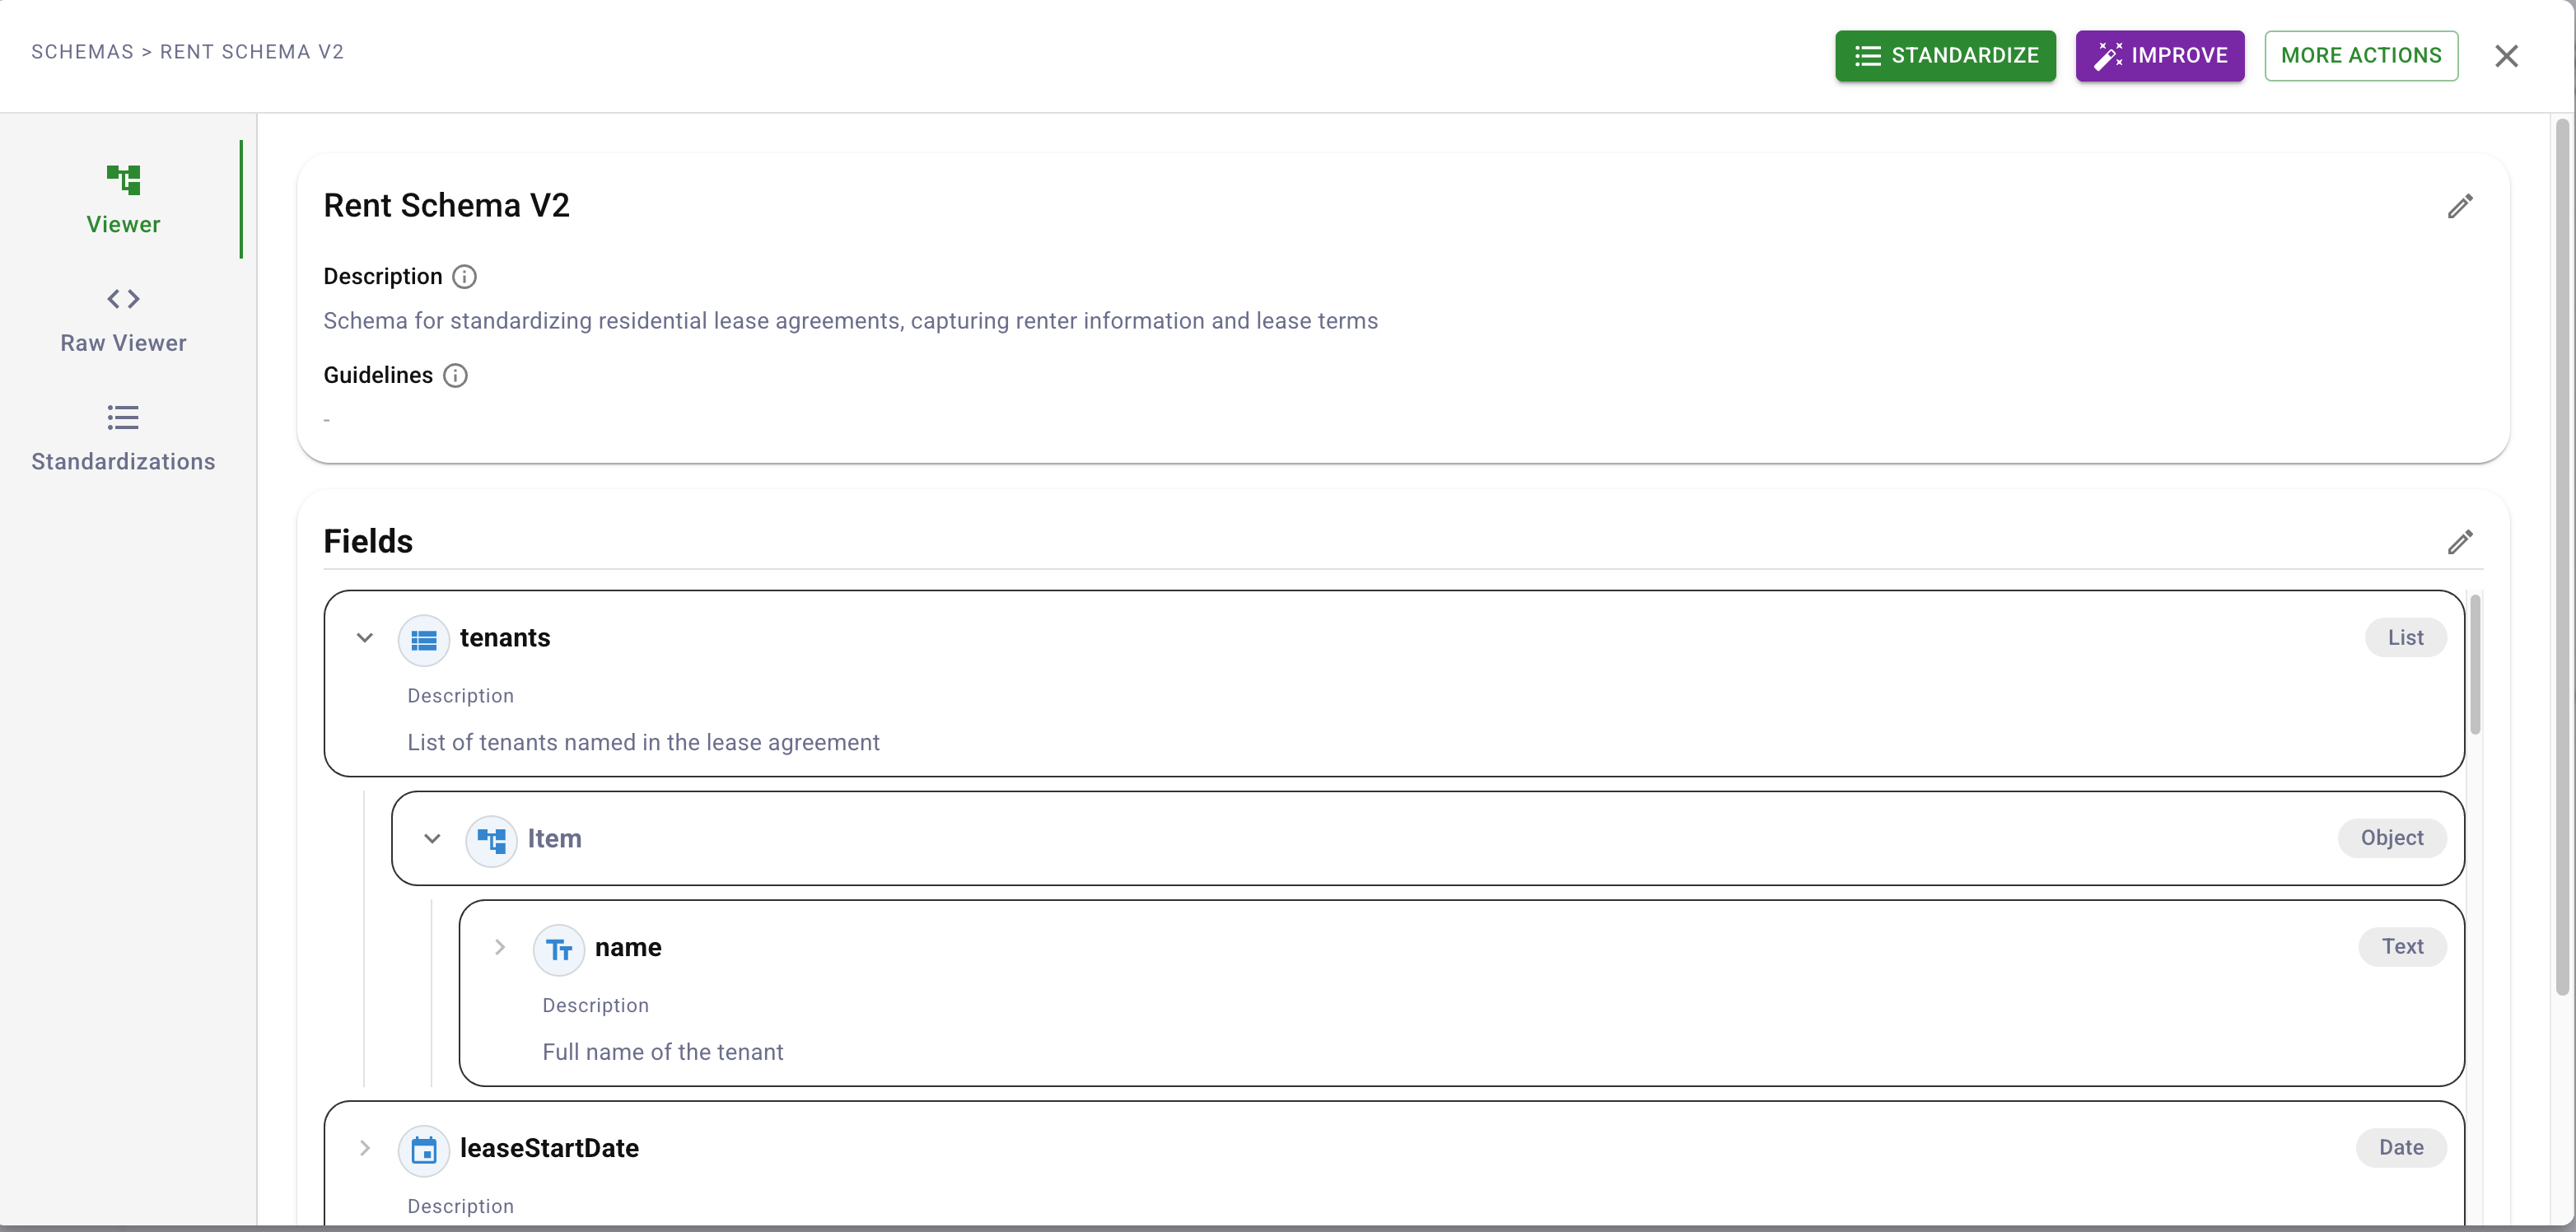
And another schema for the lease terms, which looks like this:
Now we want to run this entire contract through a Workflow that orchestrates splitting the document, finding only the addendum and lease agreement, and normalizing each with the corresponding schema.
Building a Workflow
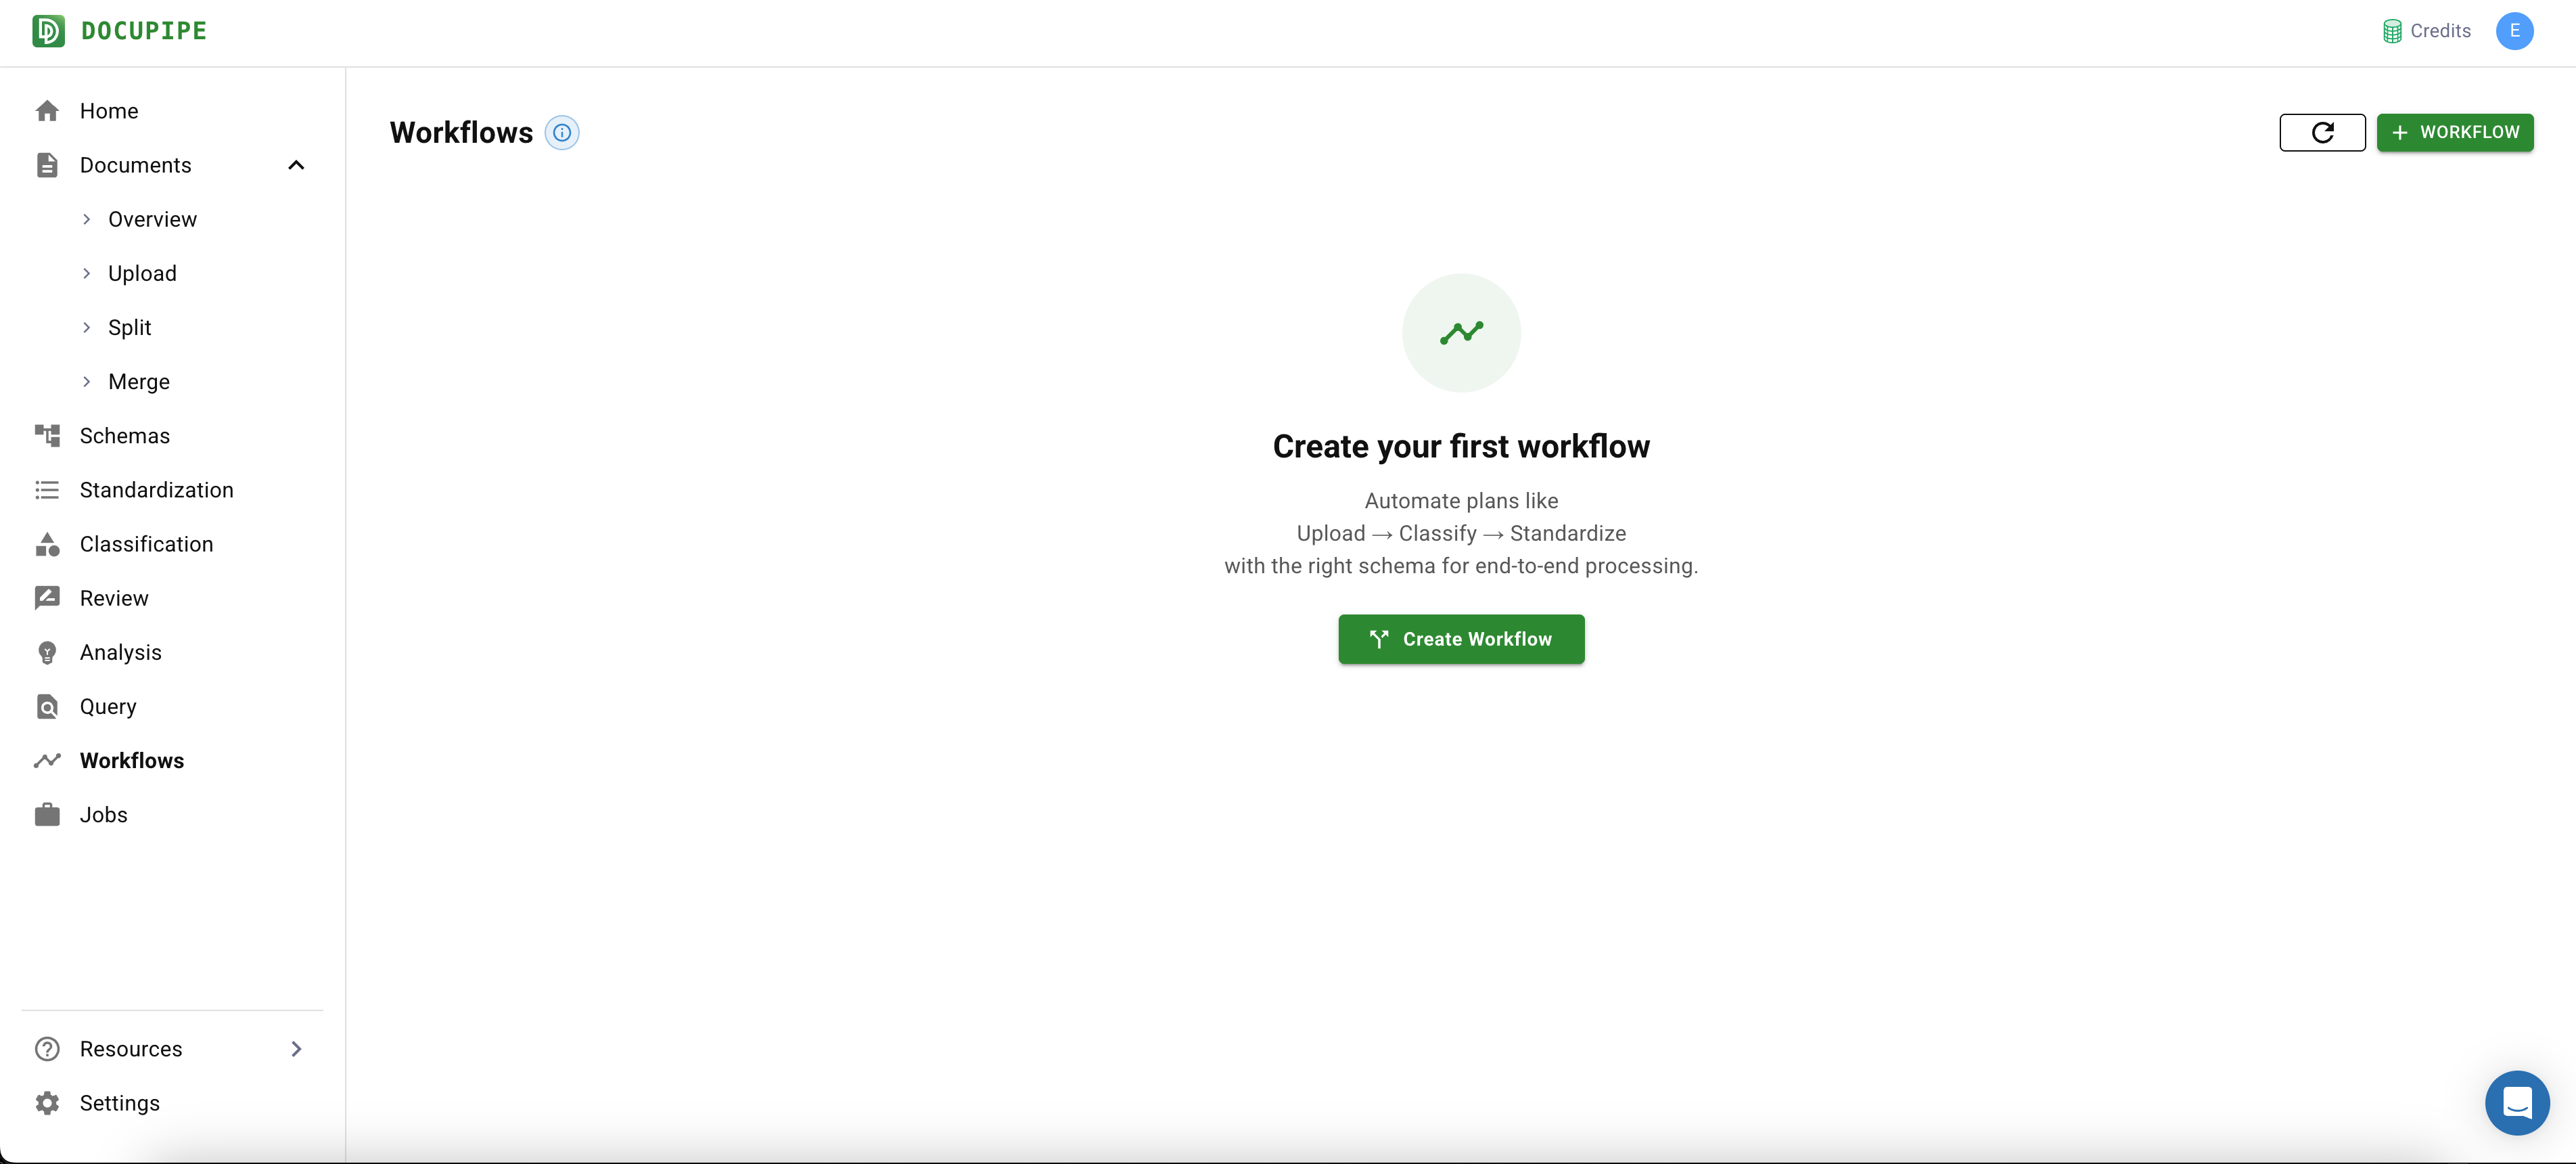
Go to the Workflows tab
Hit +Workflow and select the Parsing -> Split -> Classify -> Standardize workflow type. Select how you want classes to map into schemas (e.g. the rental Lease class goes to Rent Schema V2, and the lease addendums go to Addendum Schema)
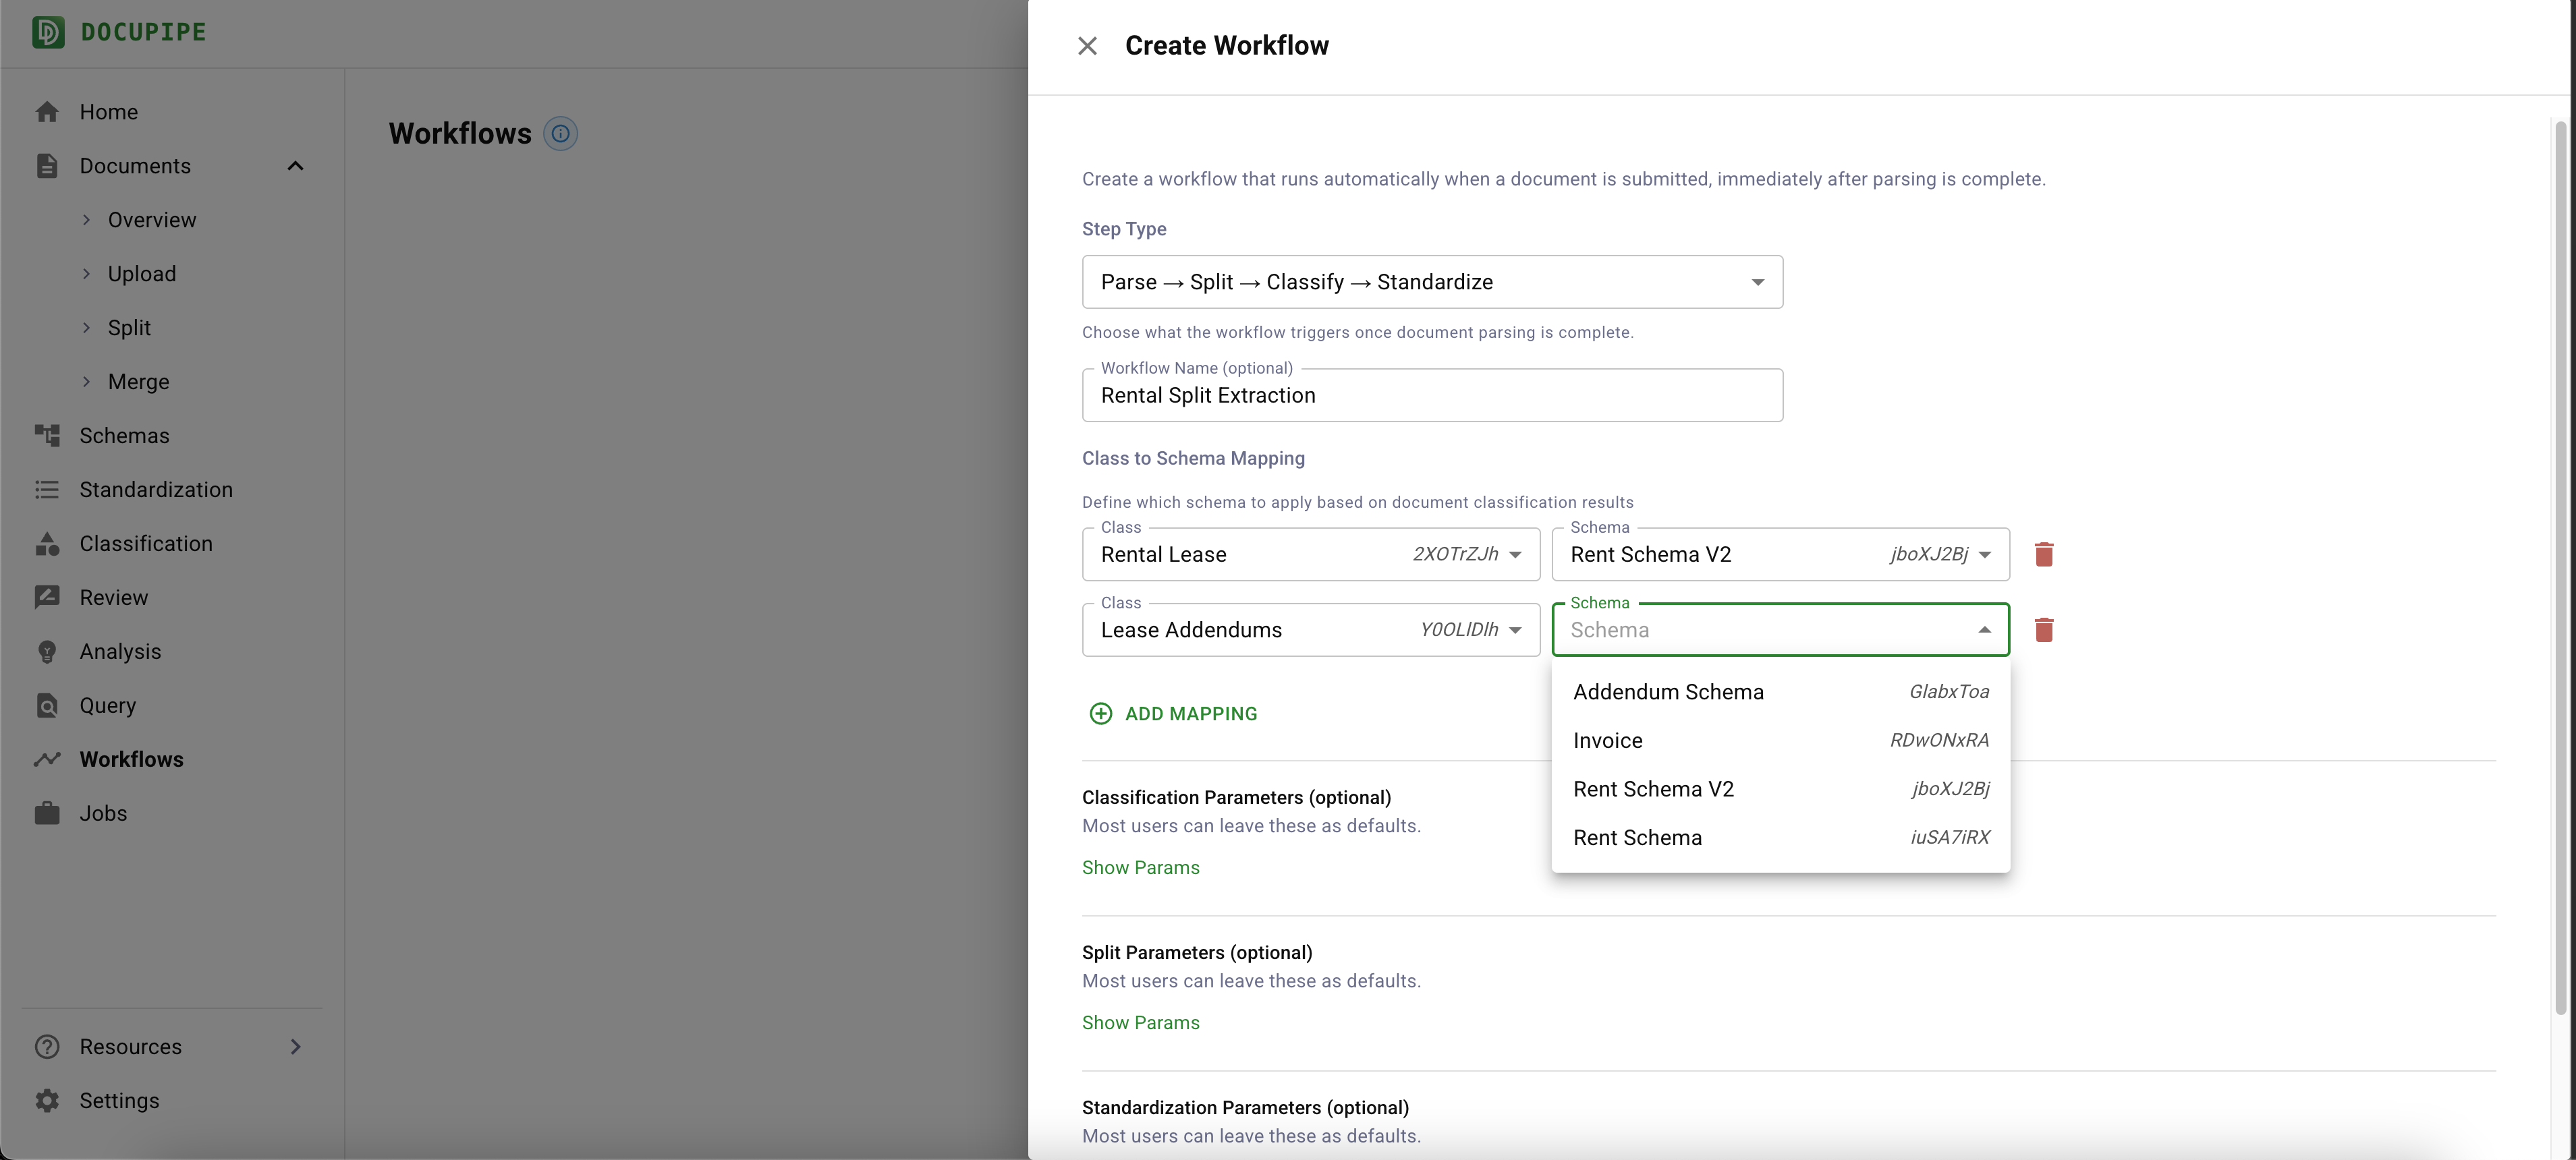
Notice that you can in principle map multiple classes to the same schema (for example: you can take both a doctor's note and a lab report, and extract only the patient name and insurance carrier with the same schema).
Using your Workflow
Now you can upload a new document straight into the workflow. Click on the green Apply button

This will let you upload a new document directly into the workflow. If you're a developer, you can also upload a document into a workflow using our API by calling Submit a Document for Processing with {workflowId: yourWorkflowId}
Monitor Progress
- Track progress for each workflow run from the Jobs tab.
- You will see an Upload job, followed by a Split job. When that's done you will see multiple documents populate in the Documents tab, at which point you will see a new Classify job for every sub-document, and finally a Standardize job for each matching document type. When the workflow completes, new entries appear in the Standardization tab - one for each sub-document whose class you're mapping to a schema.
- If you need downstream systems to react automatically, subscribe to the
standardization.processing.successwebhook event. Learn more in the Webhooks Guide. Hint: When you upload a document programmatically, it's often a good idea to setmetadata, for example{"metadata": {"uid": "your-input-document-uid"}. This way when your standardization event fires, you know what input document it relates to.